
Have you ever bitten into a salted plum and felt an explosion of flavors salty, sour, sweet, and even a little spicy dancing across your tongue? These tiny preserved fruits are more than just a snack. They’re memories tucked in wrinkled skin, remedies passed down through generations, and edible symbols of tradition in many Asian cultures.
But here’s the secret: you don’t have to travel far or rely on store-bought versions to enjoy them. With a handful of ingredients and a little patience, you can learn how to make salted plums at home, tailored exactly to your taste. In this article, we’ll walk you through the process, step by step, and show you creative ways to make this timeless treat your own.
1. Different Types of Salted Plums
Salted plums vary not just by region but also in how they’re cured, seasoned, and enjoyed. While the base process typically involves plums and salt, the final flavor, texture, and use can differ dramatically depending on cultural preferences and traditional methods. Understanding these variations is an essential first step if you’re learning how to make salted plums at home.
Here are some of the most common and beloved types:
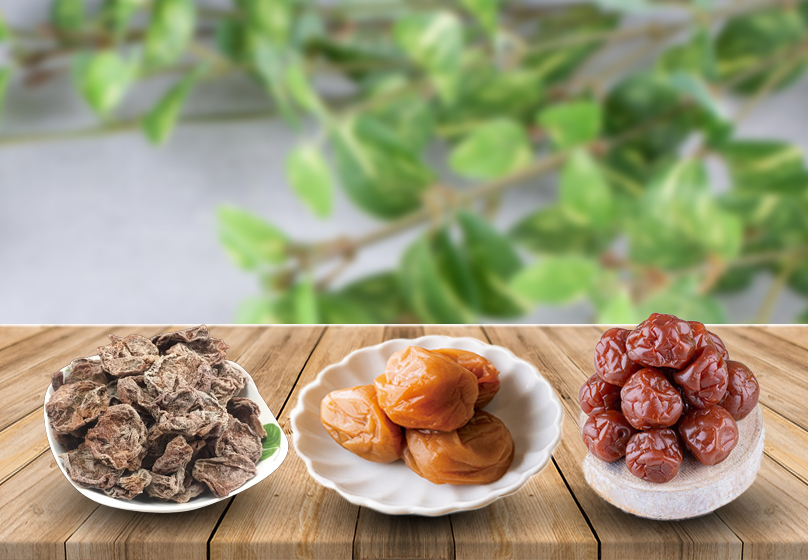
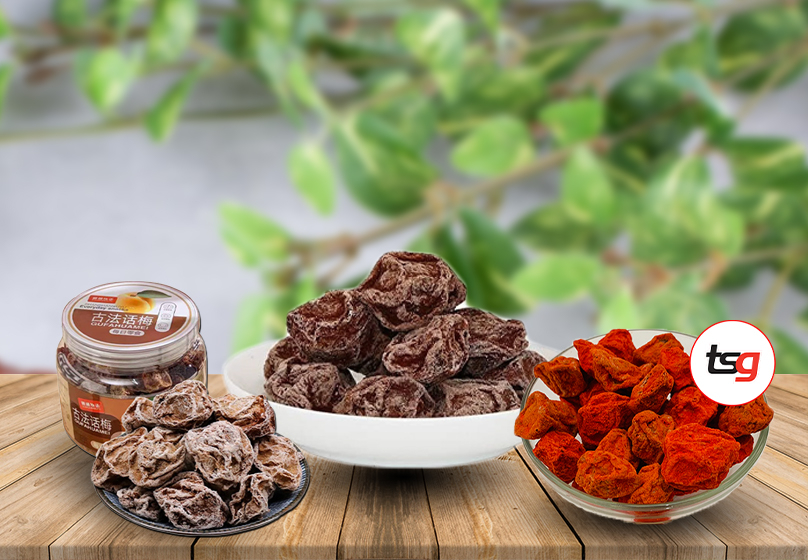
- Umeboshi (Japan): These are sour, salted, and usually pickled with red shiso leaves, giving them a vibrant red hue and herbal taste.
- Xí muội (Vietnam/China): Often sweetened and flavored with licorice or chili, these plums are chewy and pungent, popular as candies or remedies for motion sickness.
- Mui Hiong (Malaysia/Singapore): A dried and salty version, typically used in cooking or herbal drinks.
Each type has a slightly different method, but the core idea remains the same: plums, salt, and time. If you're curious about their cultural significance or why they're such a favorite across generations, check out our article: What Are Salty Plums, and Why Do People Love Them?
2. Ingredients and Tools You'll Need
Before diving into how to make salted plums, it’s important to gather the right ingredients and tools. The beauty of this process lies in its flexibility; you can easily adjust the ingredients based on your flavor preferences, whether you lean toward sweet-salty, spicy-salty, or something uniquely your own.
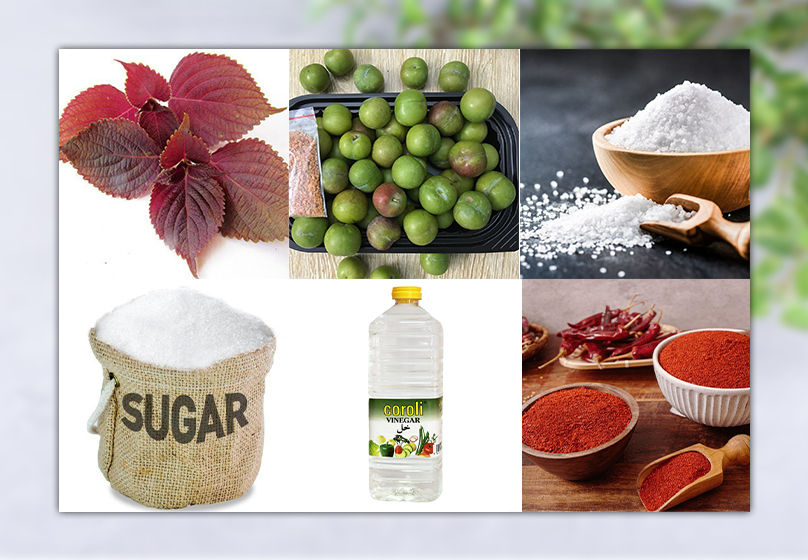
2.1 Basic Ingredients:
- Fresh plums (preferably small and firm varieties like Japanese ume or Vietnamese mận)
- Coarse sea salt (non-iodized, ideal for fermentation)
- Sugar (optional, for sweetened or candy-like versions)
- Vinegar (optional, for added sourness or preservation)
- Red shiso leaves or licorice (optional, for natural coloring and herbal aroma)
- Chili flakes or ginger (optional, for a spicy or warming twist)
2.2 Tools Needed:
- Large glass jar or ceramic crock (for fermenting the plums)
- Clean towel or cheesecloth (to cover and breathe)
- Weight (to press the plums—this can be a clean stone, plate, or bag of salt)
- Gloves (optional, but recommended for hygiene and to prevent skin irritation from salt or spices)
Now that you have everything ready, let’s move on to the fun part: how to make salted plums step by step.
3. How to Make Salted Plums at Home Step by Step
Learning how to make salted plums at home is not only rewarding but also surprisingly simple. The process requires minimal ingredients, a bit of patience, and a willingness to let nature do its magic. Here’s a basic method you can follow and later adapt to your own flavor preferences.
Step 1: Wash and Dry the Plums
Gently wash the plums to remove any dirt or stems. This step is crucial for keeping the fermentation process clean. Pat each plum completely dry using a clean towel; moisture can affect the salt’s ability to preserve.
Step 2: Layer with Salt
In your fermentation jar, place a layer of plums, then sprinkle a generous layer of salt over them. Repeat this layering until the jar is full. Make sure the salt evenly coats each plum, as this helps prevent spoilage and draws out moisture.
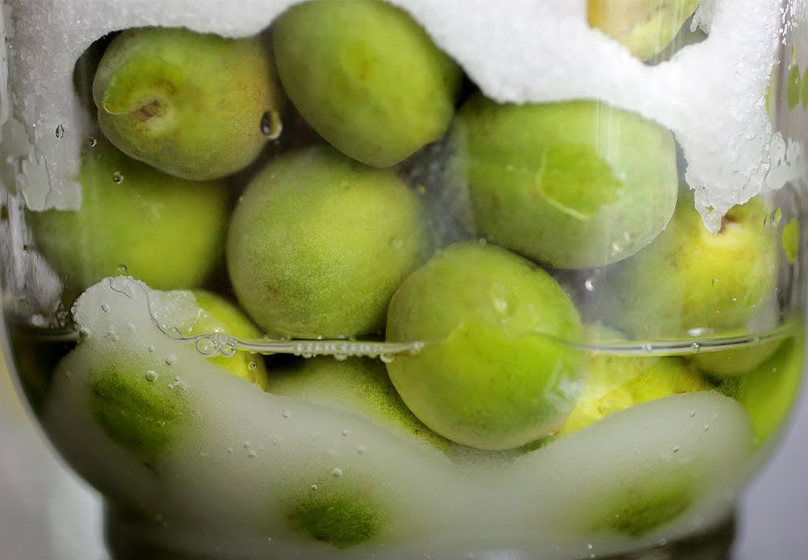
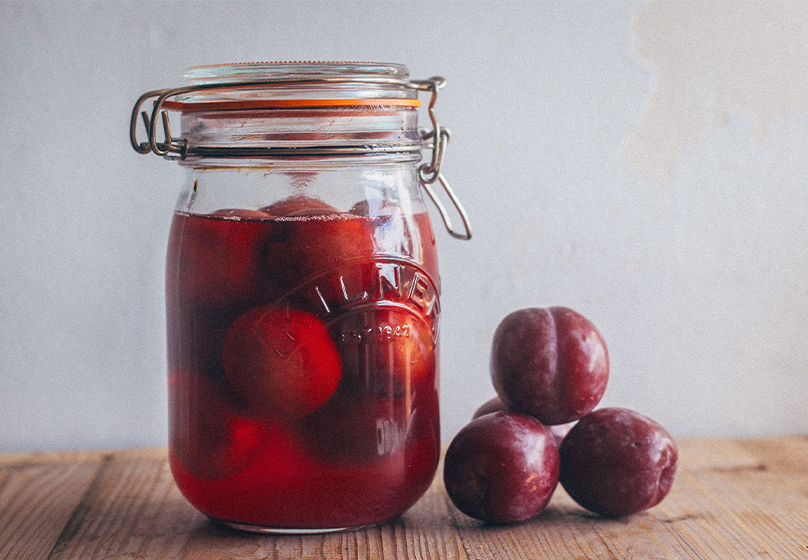
Step 3: Add Weight and Cover
Place a weight on top of the plums to press them down and encourage the release of natural juices. Cover the jar with cheesecloth or a loose-fitting lid. This allows air to circulate while keeping dust and insects out, an essential detail when mastering how to make salted plums the traditional way.
Step 4: Let It Ferment
Store the jar at room temperature, away from direct sunlight, for about 3 to 4 weeks. During this time, the plums will shrink and become darker as they ferment. Gently shake or rotate the jar every few days to ensure even fermentation and salt distribution.
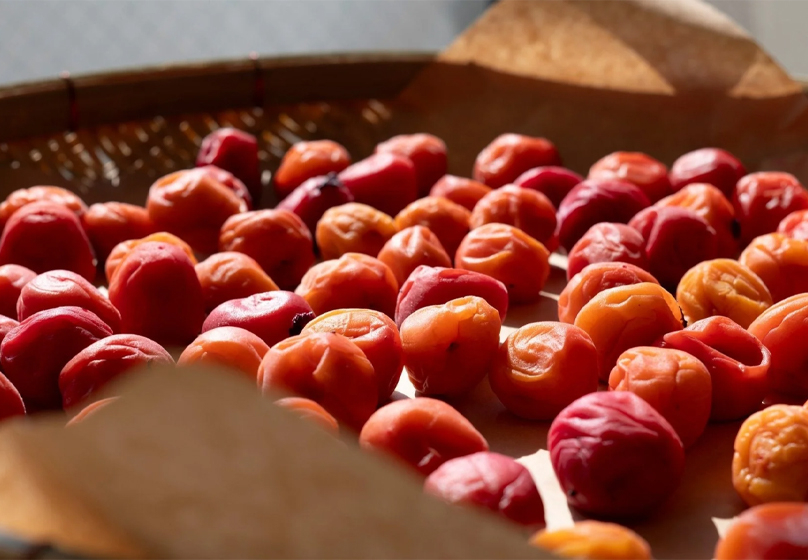
Step 5: Dry or Store
Once your plums are fully fermented, you can choose how to finish them:
- Dry them under the sun for 2 - 3 days to create chewy, intensely flavored salted plums that are easy to store.
- Leave them in their brine for a softer, juicier version that’s perfect for pairing with rice or using in soups.
And that’s it you’ve just learned how to make salted plums from scratch. In the next section, we’ll explore how to take your batch to the next level with exciting flavor variations.
4. Flavor Variations You Can Try
Once you’ve mastered the basics of how to make salted plums, it’s time to get creative with flavor. Salted plums are incredibly versatile, and many cultures infuse them with bold, unexpected ingredients that elevate both taste and aroma. Whether you're aiming for something sweet, spicy, or deeply herbal, these ideas will inspire your next batch:
- Sweet-Salty Plums: Add sugar during the final days of fermentation for a balance of tang and sweetness. This version is ideal if you're introducing salted plums to first-timers or kids.
- Spicy-Salty Plums: Add crushed chili flakes, Sichuan pepper, or slices of fresh ginger to the jar before sealing. This creates a warming, fiery contrast to the natural tartness of the plums.
- Shiso-Infused: Incorporate red shiso leaves between salt layers for a floral and earthy aroma. This is the signature approach in Japanese-style umeboshi and adds a beautiful reddish hue.
- Licorice Plums: Use licorice powder or dried licorice root to mimic the Chinese-style xí muội a favorite among those who love complex, slightly medicinal flavors.
Flavor variations are a fun way to personalize your experience as you explore how to make salted plums at home. These unique twists also make great gifts or conversation-starting ingredients in fusion dishes and drinks. You can even combine multiple elements like sweet, sour, and spicy for a multi-dimensional taste adventure.
5. Storage Tips and Shelf Life
Knowing how to store salted plums properly is key to maintaining both flavor and safety. Whether you're working with sun-dried, brined, or fermented plums, good storage practices can extend their shelf life and preserve their quality.
5.1 For Sun-Dried Salted Plums (like traditional umeboshi):
- Store in an airtight glass jar or ceramic container.
- Keep the jar in a cool, dark, and dry place such as a pantry or cupboard.
- These plums can last up to a year or more if stored correctly, making them ideal for long-term preservation.
- Great for those making homemade umeboshi or other naturally preserved snacks.
5.2 For Brined or Fermented Plums:
- Keep the plums fully submerged in their brine to prevent spoilage.
- Store them in the refrigerator in a sealed glass jar.
- Best consumed within 6–8 months, though some strong ferments may last longer with proper care.
5.3 Tips to Preserve Salted Plums Longer:
- Use only clean and dry utensils when handling the plums to avoid introducing bacteria or moisture that may lead to spoilage.
- Label jars with the date fermentation or curing started to monitor freshness.
- Check regularly for mold, cloudiness, or unusual smells—these are signs it’s time to discard the batch.
By following these storage tips, you’ll not only extend the shelf life of your salted plums but also preserve their complex umami flavor for months to come.
Conclusion
Learning how to make salted plums is both a culinary adventure and a nod to tradition. Whether you prefer the intensely sour Japanese umeboshi or the chewy-sweet Vietnamese xí muội, making them at home allows you to tailor the flavor to your liking. With just a few ingredients and a bit of patience, you’ll have a delicious snack or ingredient that can last for months.