
Dried ginger jelly is a chewy, spicy-sweet treat that combines bold ginger flavor with natural health benefits like aiding digestion and boosting immunity. Easy to make and store, it’s perfect as a snack, tea companion, or dessert topping. This guide will walk you through how to prepare, dry, and store your own homemade batch.
I. What Is Dried Ginger Jelly?
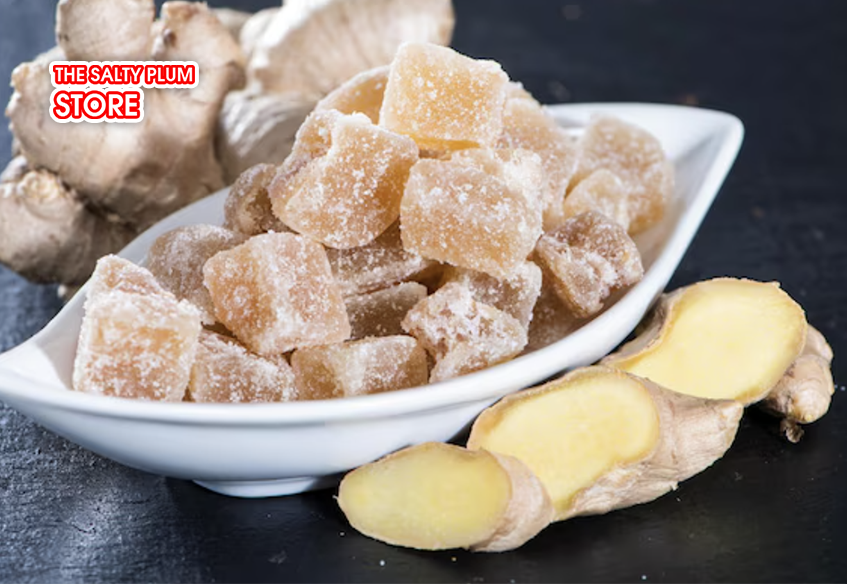
Dried ginger jelly is a chewy, sweet-and-spicy delicacy made from ginger-infused jelly that has been carefully dried to achieve a slightly firm yet tender texture. It captures the natural warmth and aroma of fresh ginger while maintaining a pleasant sweetness, creating a balance that’s both refreshing and comforting.
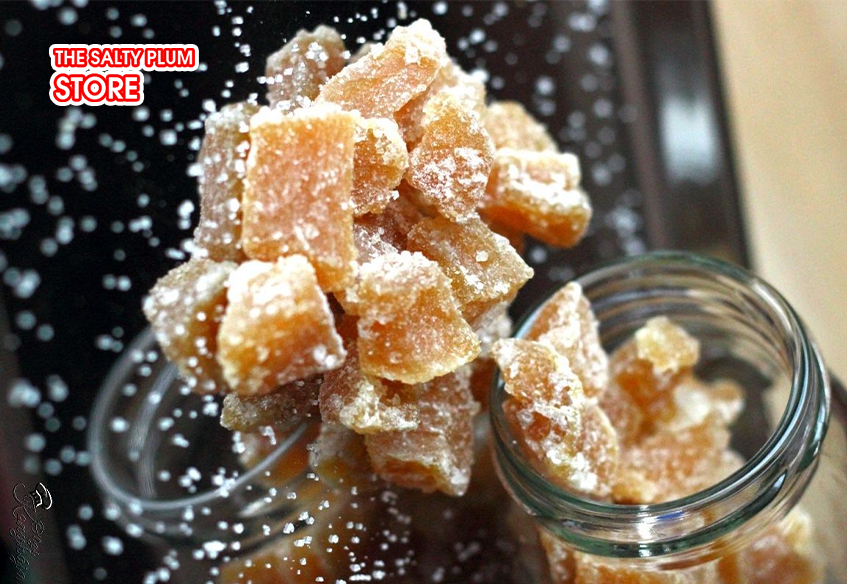
Originating from traditional ginger jelly desserts popular across Asia, this dried version was developed as a way to preserve the flavor and extend shelf life. In many Asian households, ginger-based treats are not just enjoyed for their taste but also for their health benefits — especially during colder seasons. Dried ginger jelly continues this tradition while offering a more convenient, travel-friendly form.
II. Ingredients You’ll Need
Making dried ginger jelly at home doesn’t require anything fancy — just a few simple ingredients that work together to create that perfect balance of spice, sweetness, and chewiness. Here’s everything you’ll need:
1. Main Ingredients
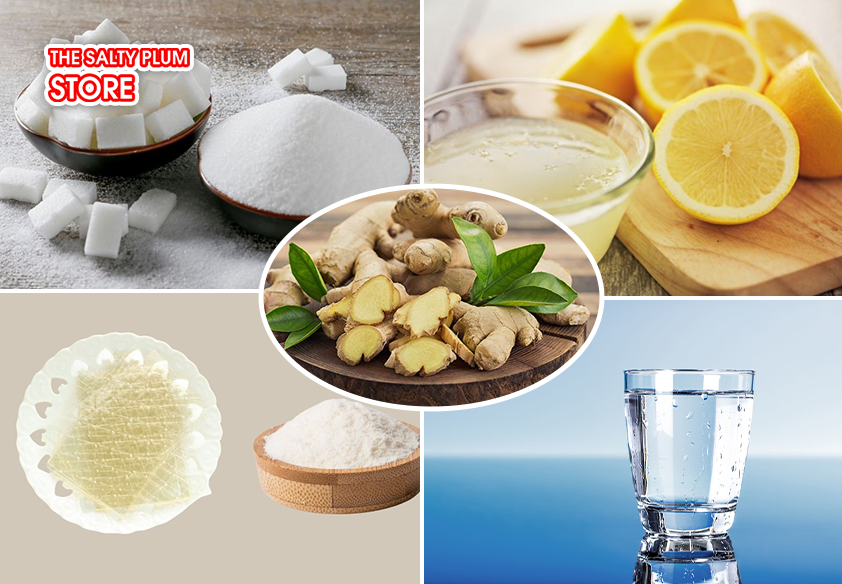
- 200g dried ginger: Use firm, mature ginger roots with smooth skin and a strong aroma. Fresh ginger provides the signature warmth and slightly spicy bite that makes this jelly so distinctive.
- 800ml water: Serves as the base for extracting the ginger flavor.
- 150g sugar: Adjust according to your taste. You can use more for a sweeter jelly or reduce it for a lighter, more natural flavor.
- 10g agar powder or gelatin: This gives the jelly its structure and elasticity. Agar is plant-based and results in a firmer texture, while gelatin produces a softer, bouncier consistency.
- 1 tbsp lemon juice: Enhances the brightness of the flavor and naturally helps preserve the jelly.
👉 If you want to enjoy the pure, natural flavor of dried ginger, choose The Salty Plum Store, your trusted source for premium ingredients in every recipe!
2. Optional Additions
- A pinch of salt: Brings out the sweetness and balances the spice from the ginger.
- Honey or brown sugar: For a more natural sweetness and deeper caramel-like flavor, replace part or all of the white sugar with honey or brown sugar.
3. Ingredient Tips
- Choose mature ginger for a stronger, spicier aroma. Younger ginger will produce a milder, fresher flavor but less intensity.
- Use agar agar instead of gelatin if you plan to dry the jelly thoroughly — agar sets more firmly and holds its texture better during the drying process.
- For the best results, always use filtered water and fresh ingredients — it makes a noticeable difference in the final flavor and clarity of your jelly.
III. How to Make Dried Ginger Jelly: Step-by-Step
1. Prepare the Ginger
Start by preparing the star ingredient, fresh ginger.
- Wash and peel the ginger thoroughly to remove any dirt or impurities.
- Slice it thinly or coarsely chop it for a stronger flavor.
- In a small saucepan, boil the ginger with 800ml of water for about 10–15 minutes. This process releases the natural oils and spicy essence of ginger into the water.
- Once done, strain the liquid and set aside the ginger-infused water. This will serve as the flavorful base of your jelly.

2. Make the Jelly Base
Now it’s time to transform that ginger essence into a sweet, jelly-like mixture.
- Pour the ginger water back into the pot.
- Add 150g sugar, 10g agar powder (or gelatin), and 1 tablespoon of lemon juice.
- Stir constantly over medium heat until the sugar and agar powder dissolve completely.
- Continue to simmer gently for a few minutes until the mixture thickens slightly and becomes smooth and glossy.
Tip: Make sure the agar is fully dissolved — this ensures your jelly sets evenly later.
3. Pour and Set
Once your jelly base is ready:
- Pour the hot mixture into a flat mold or baking tray, about 1–1.5 cm thick.
- Let it cool naturally at room temperature.
- After cooling, place it in the refrigerator for 2–3 hours until it becomes firm and easy to cut.
4. Cut and Dry
After the jelly has set:
- Remove it from the mold and cut into small squares or thin slices, depending on your preference.
- Arrange the pieces on a baking tray lined with parchment paper.
- Dry the jelly using one of the following methods:
- Oven drying: Set your oven to 60–70°C and dry for 4–6 hours, flipping halfway through to ensure even drying.
- Sun drying: Place the pieces under direct sunlight for 2–3 days, covering them with a thin mesh or cloth to keep dust away.
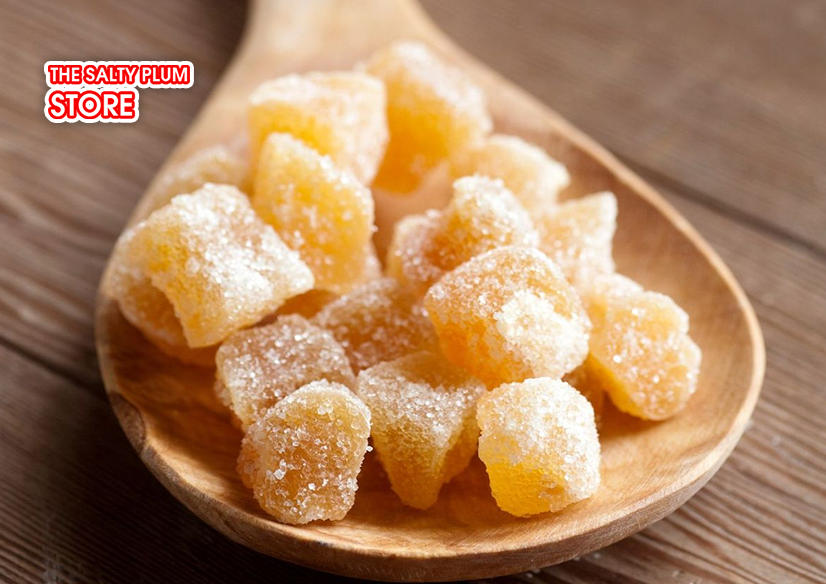
The jelly should be dry yet slightly pliable, with a chewy, candy-like texture.
5. Cool and Store
- Let the dried ginger jelly cool completely after drying.
- Once cool, store the pieces in an airtight glass jar or sealed container.
- Keep them in a cool, dry place, away from humidity and sunlight.
Properly stored, your homemade dried ginger jelly can last up to 2–3 months without losing its flavor or texture.
IV. Tips for the Perfect Dried Ginger Jelly
1. Ginger Flavor Control
The intensity of your ginger flavor depends entirely on how much and what type of ginger you use.
- For a milder flavor, use younger ginger and fewer slices.
- For a spicier, more aromatic result, add a few slices of mature ginger, which has a deeper heat and stronger scent.
- You can even lightly crush the ginger slices before boiling to release more natural oils and enhance the infusion.
2. Texture Adjustment
The consistency of your jelly can easily be customized based on your preference.
- Use more agar powder if you prefer a firmer, chewier texture, ideal for drying.
- Use less agar if you want a softer, more delicate jelly that melts in your mouth.
- Remember to let the jelly set completely before drying — this prevents cracking and helps maintain its shape.
3. Drying Methods
Drying is what transforms regular ginger jelly into its chewy, shelf-stable dried version — and the method you choose can influence the final flavor and texture.
- Using a dehydrator or oven ensures even drying and consistent texture. Keep the temperature low (around 60–70°C) to preserve flavor and color.
- Sun-drying gives a natural aroma and old-fashioned feel, but make sure to cover the jelly with a clean mesh or cloth to prevent dust and insects.
- Regardless of the method, flip the jelly pieces occasionally to ensure both sides dry evenly.
4. Sweetness Balance
If you prefer a more natural sweetness or want to tone down the sugar:
- Add honey after turning off the heat for a mellow, floral sweetness.
- A few drops of lemon juice can balance the flavor and prevent the jelly from becoming overly sweet.
5. Preservation Tip
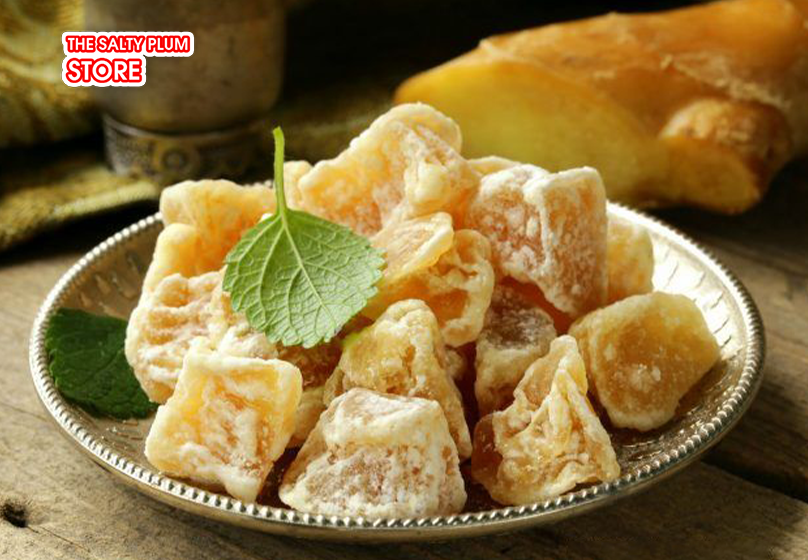
Once your dried ginger jelly has cooled, take a final step to keep it fresh and prevent sticking.
- Lightly coat each piece with fine sugar or powdered sugar — this adds a delicate sweetness, prevents the pieces from sticking together, and helps extend shelf life.
- Store in a sealed, moisture-free container, ideally with a small silica gel packet to absorb humidity.
V. How to Store and Use Dried Ginger Jelly
1. How to Store Dried Ginger Jelly
Proper storage ensures your jelly stays fresh and safe to enjoy for months.
- Use airtight glass jars: Place your dried ginger jelly pieces into a clean, dry glass jar or any airtight container. This keeps out moisture and prevents the jelly from becoming sticky or moldy.
- Keep in a cool, dry place: Store the jar away from direct sunlight and humidity — a pantry or cupboard is perfect.
- Shelf life: When properly sealed, dried ginger jelly can last 2–3 months at room temperature. If you live in a humid climate or want longer preservation, store it in the refrigerator, where it can last up to 6 months without losing its flavor or texture.
- Optional: Add a small silica gel packet or sprinkle a bit of sugar around the pieces to absorb any excess moisture.
2. How to Use Dried Ginger Jelly
Dried ginger jelly isn’t just a snack, it’s a versatile ingredient that can be enjoyed in many creative ways:
- Healthy snack: Enjoy it straight from the jar as a natural, energizing sweet treat that’s both spicy and soothing.
- Dessert topping or filling: Use it as a topping for yogurt, ice cream, or panna cotta, or chop it finely to add as a filling for pastries and cakes.
- Handmade gift: Package your dried ginger jelly in small jars or pouches with ribbons, it makes a thoughtful, cozy DIY gift, especially during the colder months.
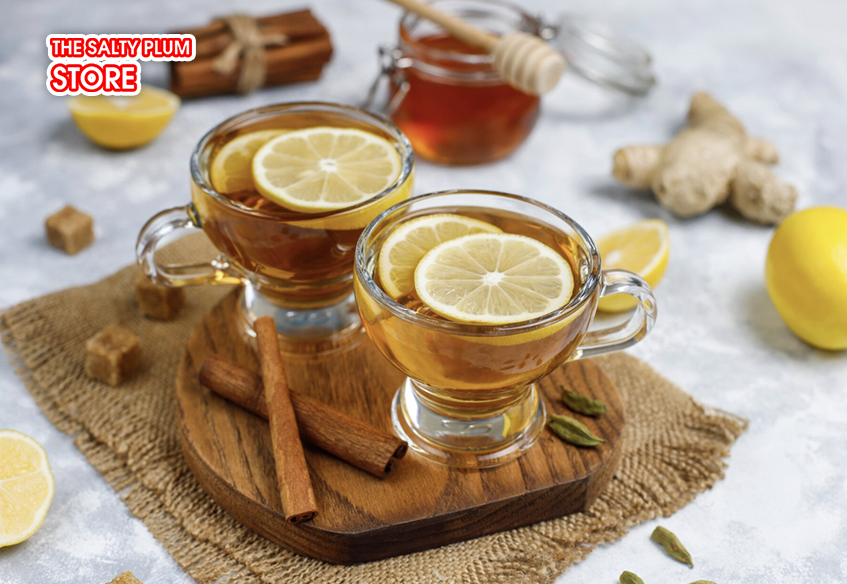
- Sweet ginger tea: Drop a few pieces into a cup of warm water or tea — it melts slowly, releasing a gentle ginger flavor and subtle sweetness.
VI. Conclusion
Dried ginger jelly is more than just a sweet treat it’s a perfect harmony of spice, sweetness, and natural warmth. With just a few simple ingredients and easy steps, you can create a snack that’s not only delicious but also soothing and healthy, ideal for boosting energy, aiding digestion, and comforting you on chilly days.
This homemade delicacy captures the essence of ginger’s natural aroma in a chewy, flavorful form — a wonderful balance between traditional goodness and modern creativity. Whether you enjoy it as a daily snack, a tea companion, or a handmade gift, it brings a touch of warmth to every moment.