
Dried olive bread brings a rustic Mediterranean aroma to any kitchen, and its crispy crust with a soft, savory center makes it a favorite for both everyday meals and special gatherings. This homemade version is simple to prepare, and every step is designed to help you bake with confidence. In this guide, you will discover what dried olive bread is, the essential ingredients you need, the step by step process to achieve the perfect texture, and helpful tips for choosing the best olives. By the end, you will have everything you need to create a flavorful loaf that tastes beautifully handcrafted.
I. What is Dried Olive Bread?
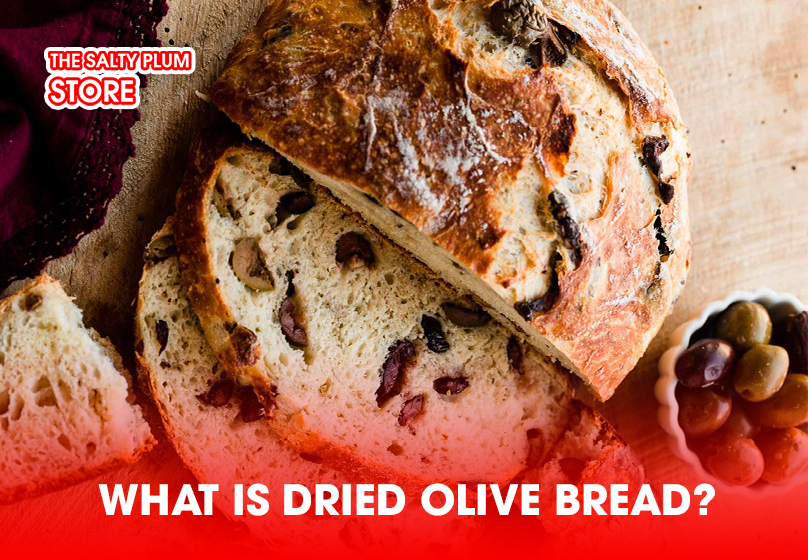
Dried olive bread is a savory artisan style loaf made with flour, yeast, seasonings, and dried olives that add depth, aroma, and a naturally salty flavor. The dried olives blend into the dough and create small bursts of rich Mediterranean taste in every slice. This type of bread is known for its crisp crust and tender crumb that pairs well with soups, pasta dishes, salads, or simple olive oil dipping. Because dried olive bread uses olives that have been dehydrated, the dough stays firm and easy to work with while still delivering a strong and distinctive olive flavor.
II. Ingredients List
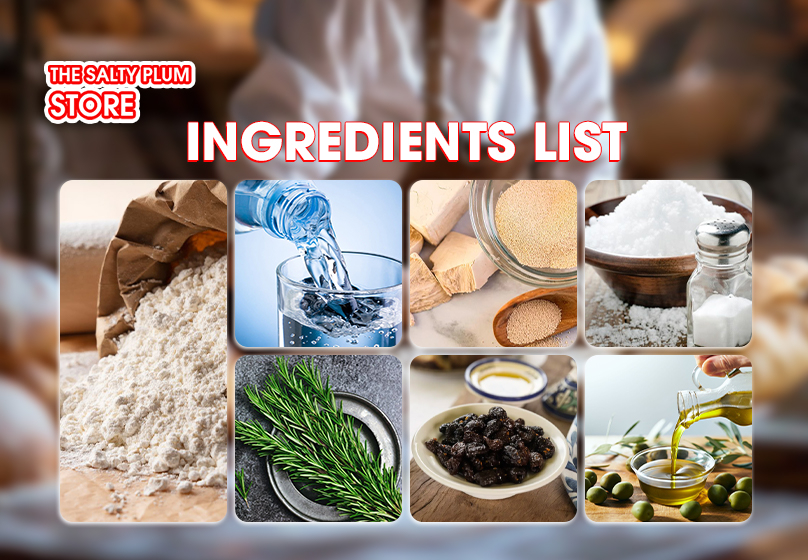
To make a flavorful loaf of dried olive bread, gather the following simple ingredients that work together to create the perfect texture and aroma:
- 3 cups bread flour
- 1 cup warm water (about 105–110°F)
- 2 teaspoons active dry yeast
- 1 teaspoon salt
- 2 tablespoons olive oil
- 1 cup dried olives, finely chopped
- 1 teaspoon dried rosemary or thyme (optional)
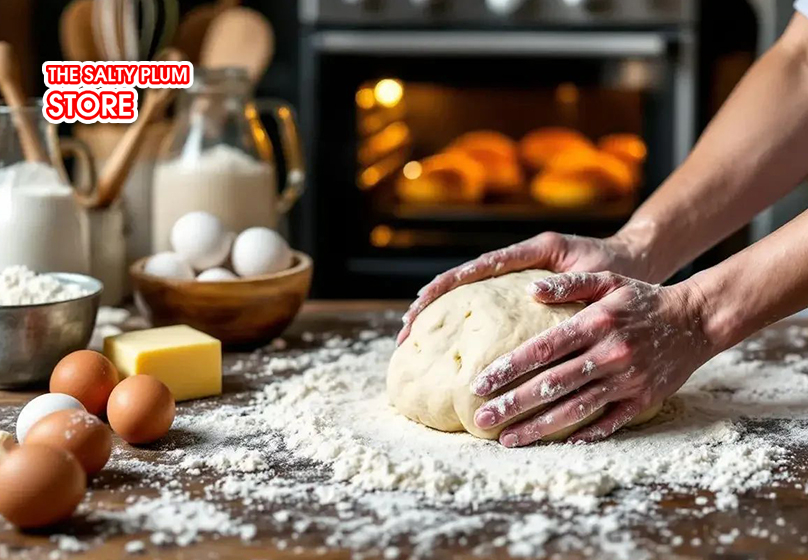
III. Step-by-Step Instruction
Making dried olive bread at home is a simple and rewarding process. The dough comes together easily, and each step helps you build the perfect balance of a crispy crust and a soft, aromatic interior. Follow this guide from activating the yeast to baking the final loaf so you can achieve consistent and delicious results every time.
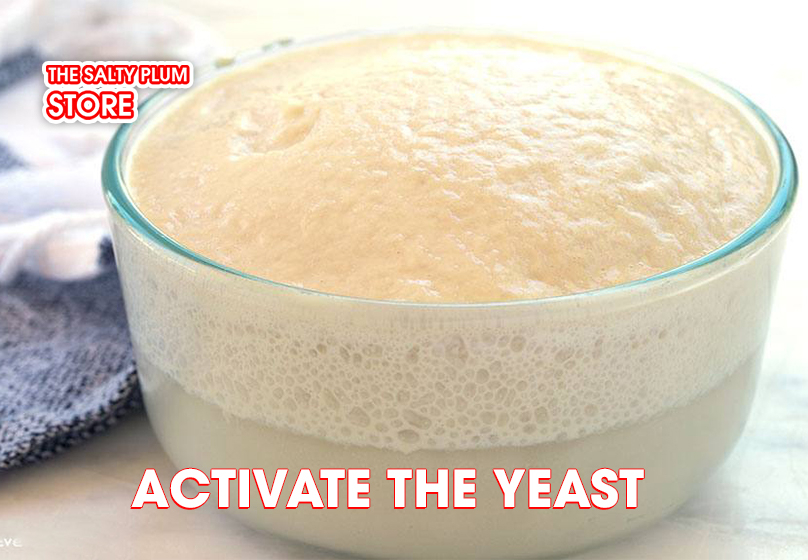
- Activate the yeast
Pour warm water into a mixing bowl and sprinkle the active dry yeast on top. Let it sit for 5–7 minutes until the mixture becomes foamy.
- Combine the dry ingredients
In a separate large bowl, mix the bread flour and salt. Stir well to ensure even distribution. - Form the dough
Add the yeast mixture and olive oil into the flour bowl. Use a spatula or your hands to bring the dough together until no dry spots remain. - Knead the dough
Transfer the dough onto a lightly floured surface and knead for about 8–10 minutes, until it becomes smooth and elastic.
- Add the dried olives
Gently fold the chopped dried olives (and optional herbs) into the dough. Continue kneading for 1–2 minutes so the olives spread evenly. - Let the dough rise
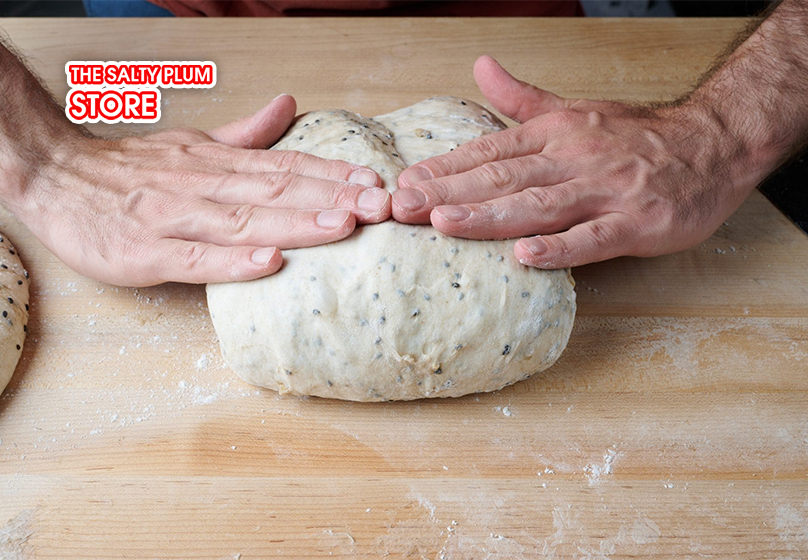
Place the dough in a lightly oiled bowl, cover it with a clean towel, and let it rise for 1–1.5 hours in a warm place until doubled in size. - Shape the loaf
Punch down the dough to release excess air, then shape it into a round or oval loaf. Transfer it to a baking tray lined with parchment paper.
- Second rise
Cover the loaf and let it rest for 30 minutes to improve texture and volume. - Bake the bread
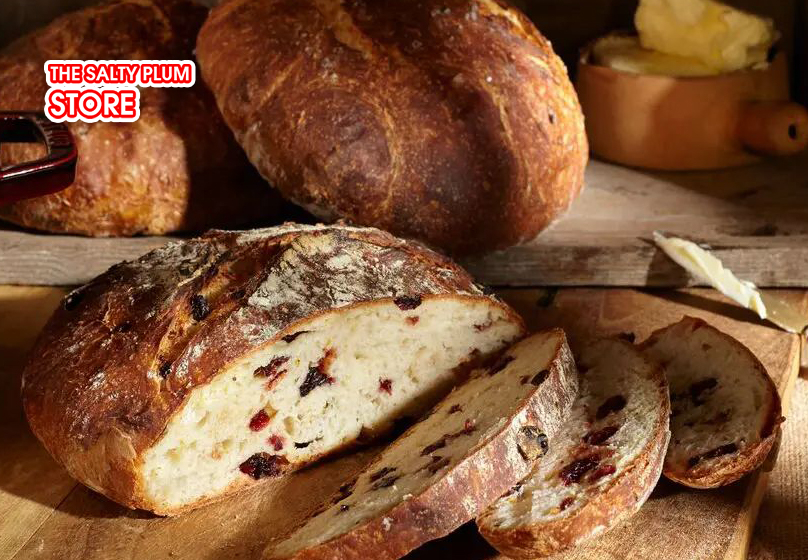
Preheat your oven to 425°F (220°C). Bake the loaf for 25–30 minutes until the crust turns golden and sounds hollow when tapped. - Cool before slicing
Allow the bread to cool on a wire rack for at least 20 minutes. This helps the crumb set and makes slicing easier.
IV. How to Choose the Best Olives
Choosing the right olives plays a major role in the final flavor, aroma, and texture of your dried olive bread. The quality of the olives determines how rich and savory each slice will taste, and the preparation method affects how well they blend into the dough. Below are detailed guidelines to help you select olives that elevate your homemade loaf.
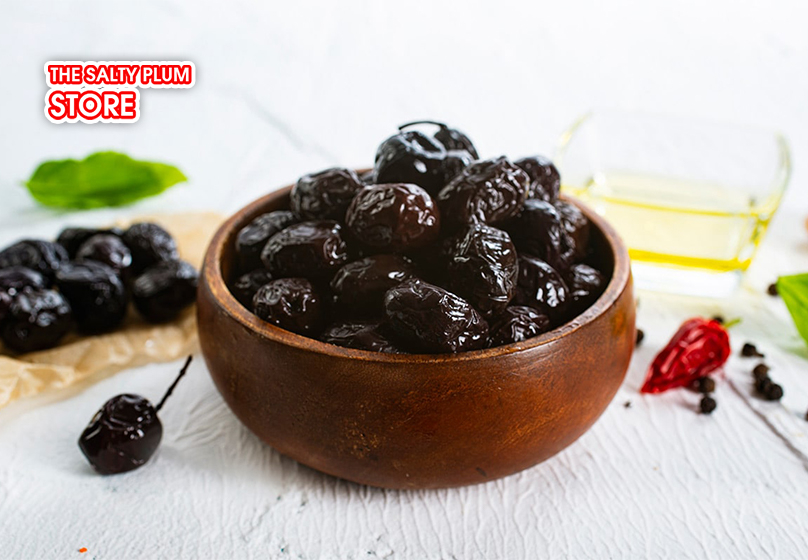
1. Select high-quality dried olives
High-quality dried olives should have a naturally concentrated flavor and a firm, slightly chewy texture. Avoid olives that appear overly oily or processed because they may introduce unwanted moisture into the dough. Look for varieties that are sun-dried or gently dehydrated to retain their natural richness.
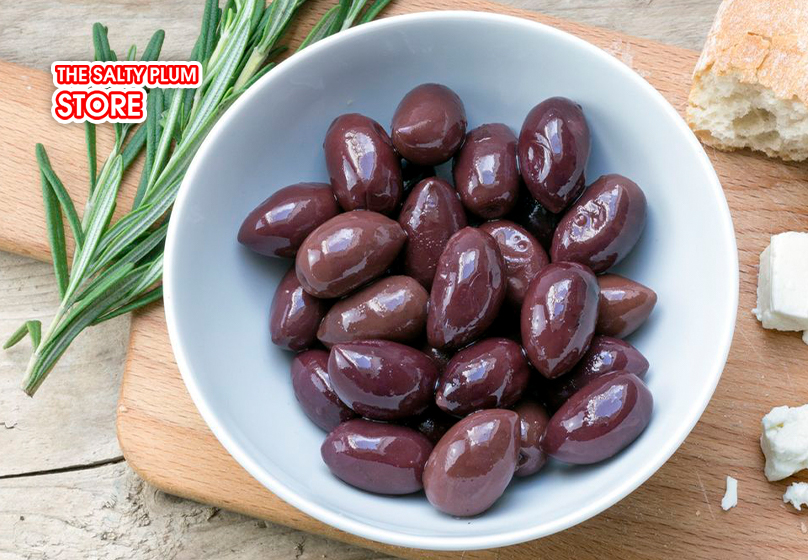
2. Prefer darker varieties for a deeper, more complex taste
Darker olives such as Kalamata, Mission, or oil-cured black olives bring a bold, earthy character to the bread. These olives have a natural tang and depth that complement the crispy crust and soft crumb of dried olive bread. Green olives can also be used, but they create a milder and less intense flavor.
3. Check the seasoning and salt level
Some olives are packed with heavy brines, herbs, or flavored oils. While these can taste great on their own, they may throw off the salt balance in your dough. Choose olives that are lightly seasoned or rinse them gently if they are too salty. Proper salt balance ensures the bread rises well and develops a clean, well rounded flavor.
4. Look for even dryness and consistent texture
The ideal dried olive should not feel overly soft, mushy, or wet. Excess moisture affects the dough consistency and can make the loaf dense. Instead, choose olives that are uniformly dried and slightly pliable. This texture helps them blend smoothly without altering the hydration of your dough.
5. Chop the olives evenly for better distribution
Uniform pieces ensure that the olive flavor spreads evenly throughout the loaf. Large chunks may create pockets of intense flavor while leaving other parts plain. Small, consistent cuts help the dough rise evenly and deliver a balanced taste in every bite.
V. Conclusion
Homemade dried olive bread is more than just a simple loaf because it brings together rustic texture, Mediterranean flavor, and the comfort of fresh baking. With the right ingredients, carefully chosen olives, and a clear step by step process, anyone can create a crisp on the outside and tender on the inside bread that feels truly artisanal. This recipe gives you the flexibility to personalize the flavor with herbs or different olive varieties while still keeping the base simple and approachable. Once you master the method, this loaf becomes a reliable addition to your cooking routine and a perfect companion for soups, salads, cheese boards, and everyday meals.
Related Article: