
Discover the delightful world of salted plums with this easy-to-follow recipe that will add a burst of tangy and savory flavor to your snacks and meals. Whether you are a fan of traditional treats or looking to experiment with unique flavors in your kitchen, this salted plums recipe will guide you through every step, from selecting the best plums to storing them for long-lasting enjoyment. With simple ingredients and clear instructions, you can create a batch of perfectly balanced salted plums that are ideal for snacking, adding to dishes, or gifting to friends and family.
I. What Are Salted Plums?
Salted plums are a traditional snack enjoyed in many cultures, known for their unique combination of sweet, sour, and salty flavors that create a distinctive taste experience. They are typically made from ripe or semi-ripe plums that are carefully preserved with salt, sugar, and sometimes additional spices to enhance their flavor. The preservation process not only intensifies the natural tartness of the plums but also gives them a chewy texture and a rich, complex taste that can range from mildly sweet to intensely tangy, depending on the recipe and preparation method.
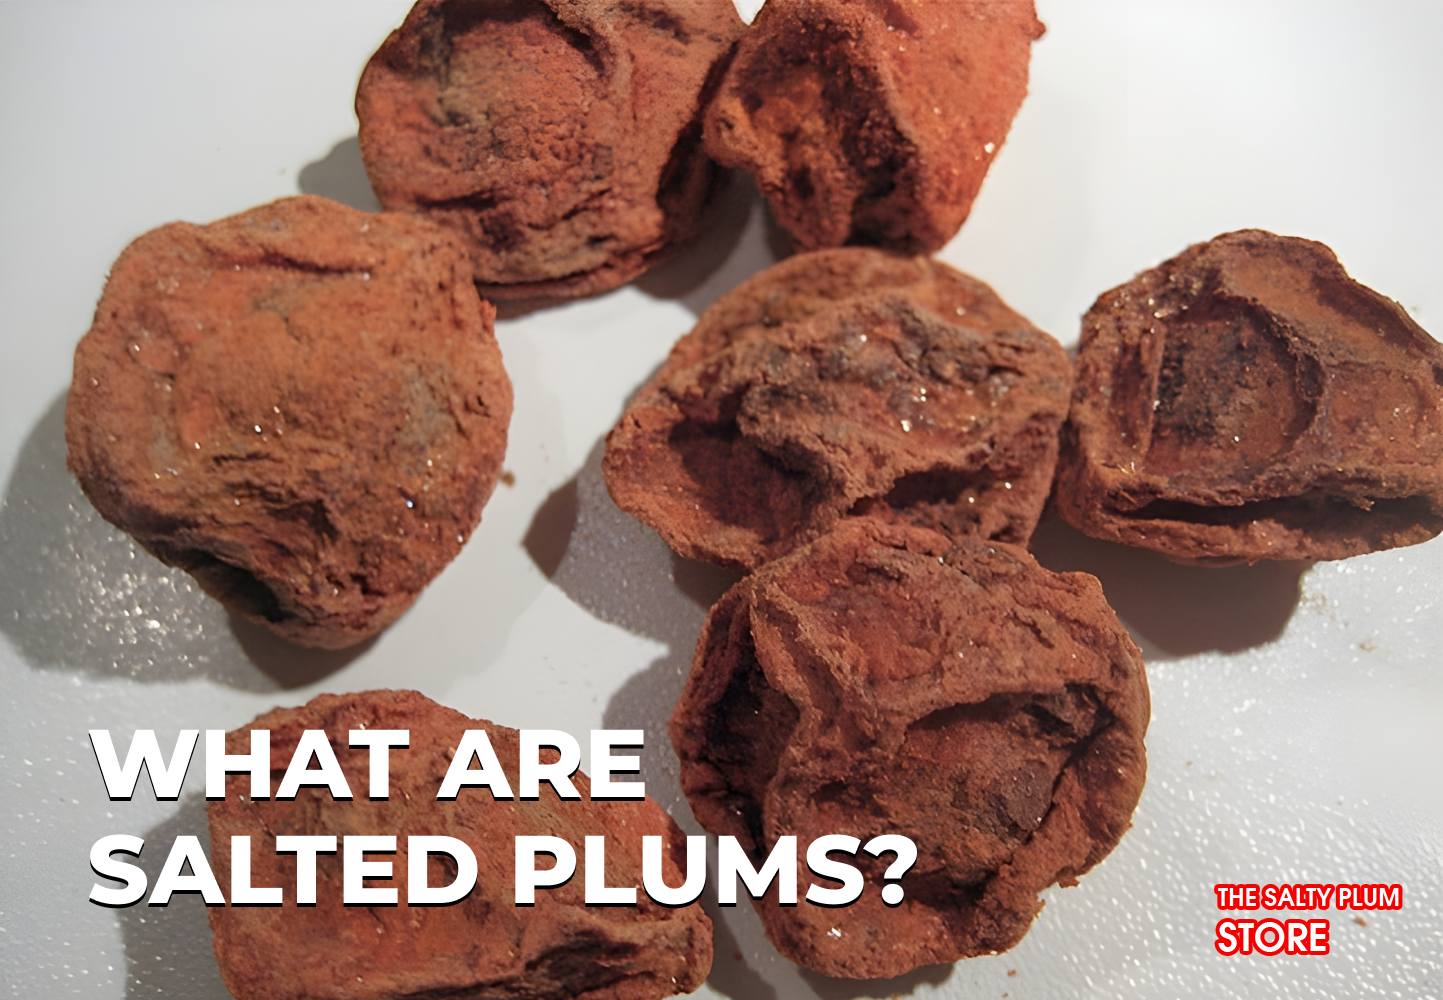
Salted plums are more than just a snack; they are often used in cooking to add depth to sauces, marinades, and desserts, and they are also valued for their digestive benefits and ability to stimulate the appetite. With their long history and versatility, salted plums continue to be a beloved treat for people of all ages, offering a perfect balance of flavor that is both nostalgic and exciting for the modern palate.
II. Ingredients You’ll Need
To make salted plums at home, you will need the following ingredients:
- Fresh plums: 500 grams, preferably firm and ripe but not overly soft. Varieties like green plums or small red plums work best for a balanced flavor and texture.
- Coarse sea salt: 2 to 3 tablespoons, enough to coat the plums and help draw out excess moisture while preserving them.
- Sugar: 2 tablespoons, which helps balance the tartness of the plums and creates that signature sweet-salty taste. You can adjust this based on how sweet or tangy you prefer your plums.
- Optional flavorings:
- Dried chili flakes: ½ teaspoon for a mild kick of heat.
- Ground licorice powder: ¼ teaspoon to add a subtle aromatic sweetness (common in traditional recipes).
- Rice vinegar: 1 teaspoon to enhance tanginess and help preserve the plums.

Tools and equipment:
- A clean glass jar or an airtight container for storing the salted plums.
- A mixing bowl for combining the plums with salt and sugar.
- A spoon or spatula for gently stirring the ingredients.
With these ingredients prepared and ready, you can move on to the step-by-step process of making flavorful salted plums that are perfect for snacking or enhancing your dishes.
III. Step-by-Step Salted Plums Recipe
Making your own salted plums at home is easier than you might think. Follow this simple salted plums recipe to create a delicious treat that balances sweet, tangy, and salty flavors perfectly.
Step 1: Prepare the plums

Wash the plums thoroughly under running water and pat them dry with a clean kitchen towel. Remove any stems and check for blemishes or bruises, discarding any damaged fruits. Using a sharp knife, you can make a small slit in each plum or lightly prick them with a fork to allow the salt and sugar to penetrate more effectively.
Step 2: Mix the salt and sugar
In a large mixing bowl, combine the coarse sea salt and sugar. If you’re using optional ingredients like chili flakes, licorice powder, or a splash of rice vinegar, add them to the mixture at this stage. Stir well to ensure all the seasonings are evenly distributed.
Step 3: Coat the plums
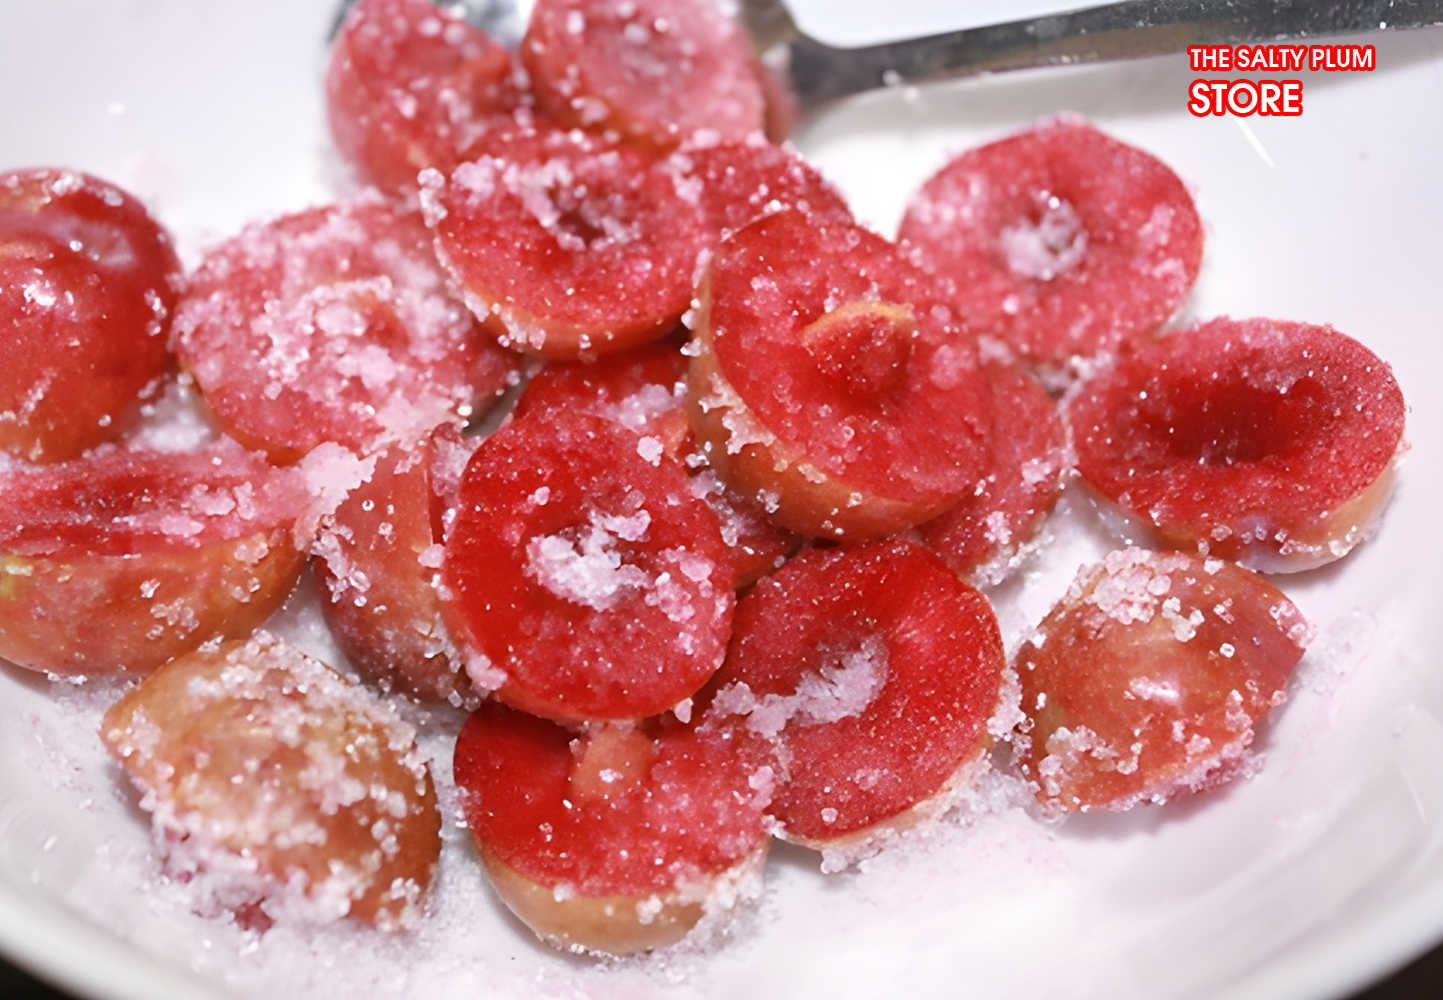
Add the prepared plums to the bowl and gently toss them with the salt-sugar mixture until each plum is fully coated. Make sure to handle them carefully to avoid bruising, as this can affect the texture and appearance of the final product.
Step 4: Store in a jar
Transfer the coated plums into a clean, airtight glass jar or container. Press them down lightly to pack them in, leaving a little space at the top. Close the lid tightly to prevent air from entering, which helps preserve the plums and enhances flavor development.
Step 5: Let the plums cure
Place the jar in a cool, dry place away from direct sunlight and allow the plums to cure for at least 5 to 7 days. During this period, the salt and sugar will draw out moisture, intensifying the plums’ flavor and giving them their signature tangy-salty taste. For a stronger flavor, you can leave them to cure for up to two weeks.
Step 6: Check and enjoy

After curing, open the jar and taste a plum. If it has reached the desired balance of sweet, tangy, and salty, your salted plums recipe is complete. Store the jar in the refrigerator to maintain freshness, and enjoy them as a snack or add them to your favorite dishes.
IV. How to Store and Preserve Your Salted Plums
Once your salted plums are ready, proper storage is essential to maintain their flavor, texture, and nutritional value. For the best results, transfer your plums to a clean, airtight glass jar and store them in the refrigerator. Keeping them cool slows down fermentation and prevents mold, ensuring your salted plums recipe stays fresh for several weeks.

If you prefer a longer shelf life, you can also store the plums in a cool, dark pantry, but make sure the jar is tightly sealed and check the plums regularly for any signs of spoilage. Over time, the flavors will continue to develop, becoming richer and more balanced.
Proper storage not only preserves taste but also keeps them safe and nutritious. Learn more about the health benefits of salty plums by incorporating them into your daily diet as a snack or as an ingredient in cooking. By following these storage tips, you can enjoy your homemade salted plums at their best while maximizing both flavor and health benefits.
V. Conclusion
Making your own salted plums at home is simple and rewarding, and this salted plums recipe allows you to enjoy a perfect balance of sweet, tangy, and salty flavors. Whether you follow each step carefully or experiment with optional ingredients, homemade salted plums make a delicious snack, a flavorful addition to dishes, or even a thoughtful gift.
If you want to try ready-made options, you can also purchase high-quality salted plums at The Salty Plum store, ensuring a consistent and delicious taste without the preparation time. With this recipe and the availability of pre-made plums, you can enjoy this traditional treat anytime, bringing a touch of unique flavor and nostalgia to your kitchen.