
If you are craving something sweet but still want a snack that feels a bit healthier, dried fruit with chocolate is a perfect choice. The natural chewiness of dried fruit combined with smooth, melted chocolate creates a simple treat that you can make at home in minutes. This dried fruit with chocolate recipe is easy, requires only a few ingredients, and is great for gifting, movie nights, or a quick dessert when you do not want to bake. With the right chocolate and a few basic steps, you can turn everyday dried fruits into a delicious homemade snack that looks and tastes impressive.
I. Ingredients You Need
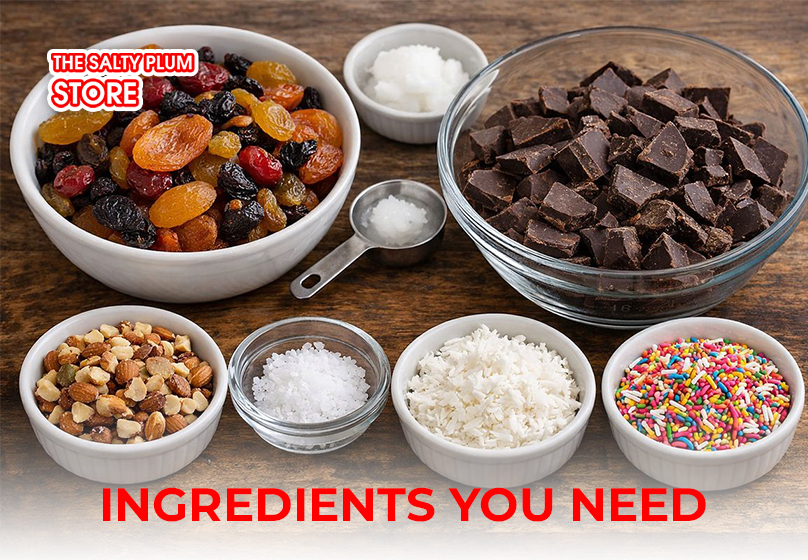
The best part about making dried fruit with chocolate at home? All you really need are two core ingredients. Seriously, that's it. Here's what to grab:
For the Basics:
- Dried fruit (about 2 cups): Pick whatever you love. Apricots, strawberries, mangoes, cranberries, and figs all work great. You can use just one type or mix a few together.
- Chocolate (8-12 oz): Go with dark, milk, or white chocolate. Whatever makes you happy. Chocolate chips are fine, but bar chocolate melts more smoothly.
Optional Add-Ons:
- Coconut oil (1 teaspoon): This helps thin out the chocolate a bit and makes it shinier. They’re optional extras, but they can be nice additions.
- Toppings: Crushed nuts, sea salt, shredded coconut, or colorful sprinkles if you want to get fancy.
That's really all you need to make delicious dried fruit with chocolate. The simple ingredient list is what makes this recipe so perfect for beginners. You're not hunting down weird specialty items or spending a fortune. Just fruit, chocolate, and a few minutes of your time.
A Quick Tip: Make sure your dried fruit isn't too sticky or wet. Pat it dry with a paper towel if needed. This helps the chocolate stick better and look cleaner.
Read more: Dried Fruit Greek Yogurt: Healthy Breakfast & Snack Ideas
II. How to Melt Chocolate Properly
Here's the thing about making dried fruit with chocolate: the melting part is where most people mess up. But don't worry, I've got you covered. There are two easy methods that work every time.
Method 1: Microwave (The Fastest Way)
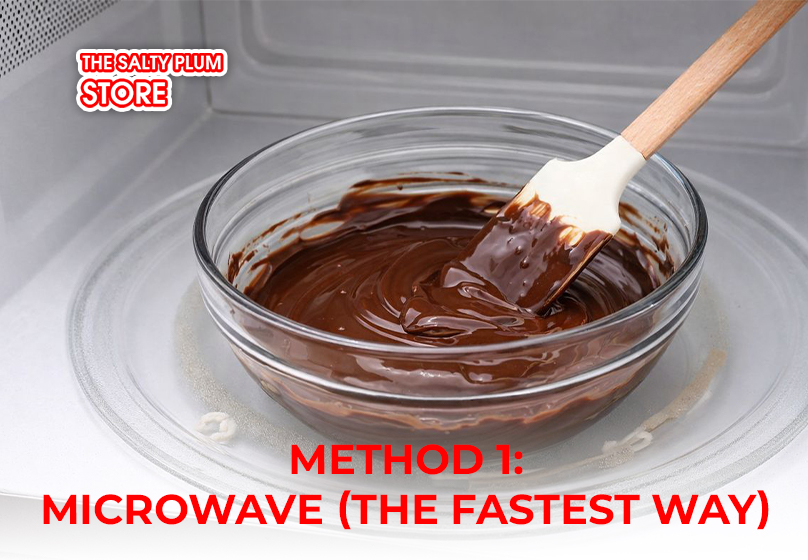
This is my go-to method when I'm in a hurry.
- Slice the chocolate into evenly sized, small chunks. The tinier the pieces, the quicker and smoother they’ll melt.
- Transfer the chocolate into a microwave‑safe dish. Glass or ceramic works best.
- Microwave on 50% power for 30 seconds.
- Take it out and stir. The chocolate won't look melted yet, and that's totally fine.
- Put it back in for another 30 seconds at 50% power.
- Stir again. You'll start seeing it get smoother.
- Keep doing 15-second bursts, stirring between each one, until the chocolate is almost completely melted.
- Stop once only a few little lumps remain. Stir until they disappear from the residual heat.
Why 50% power? Full power burns chocolate really easily. Trust me, burnt chocolate tastes awful and you can't fix it.
Method 2: Double Boiler (The Gentle Way)
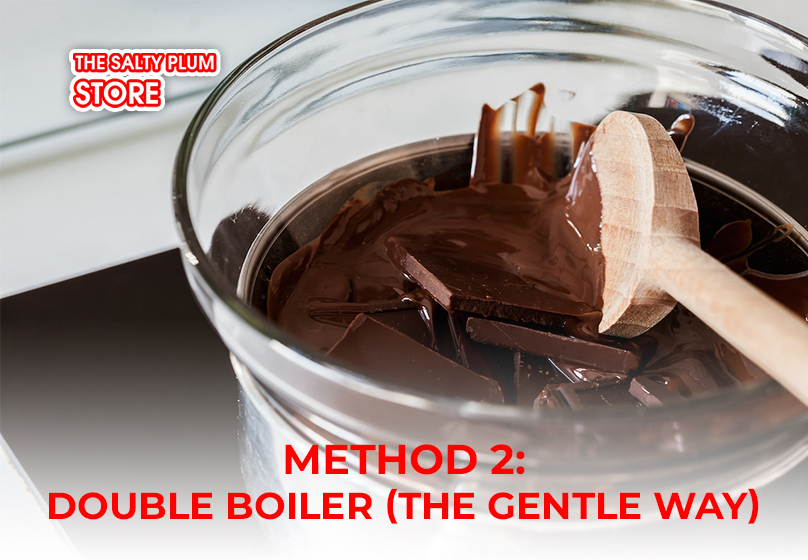
This technique takes a bit more time, but it gives you greater precision.
- Fill a small pot with about an inch of water. Warm it until it gently bubbles over medium heat.
- Set a heat‑resistant bowl on top of the pan. Make sure the bottom of the bowl doesn't touch the water.
- Place the chopped chocolate inside the bowl.
- Stir constantly with a rubber spatula as the chocolate melts. This takes about 5-7 minutes.
- Once it's smooth and glossy, turn off the heat and carefully remove the bowl.
Important Tips for Perfect Chocolate:
- Keep any moisture far away from the chocolate. Even one drop can make it seize up and turn grainy. Dry your bowl and spoon completely before you start.
- Don't overheat it. Chocolate melts between 86-90°F. If it gets too hot, it loses its shine and can separate.
- Add coconut oil now if you're using it. Stir in about a teaspoon once the chocolate is melted. This makes coating your dried fruit with chocolate much easier.
Your chocolate should look smooth, shiny, and flow easily off your spoon. If it's too thick, add a tiny bit more coconut oil (like half a teaspoon at a time). Now you're ready to start dipping your fruit.
Read more: The Best Places to Find 7D Mango Chocolate Near You
III. Step-by-Step Dried Fruit with Chocolate Recipe
Now comes the fun part. Making dried fruit with chocolate is actually really relaxing once you get into the rhythm. Here's exactly how to do it.
Step 1: Prep Your Workspace
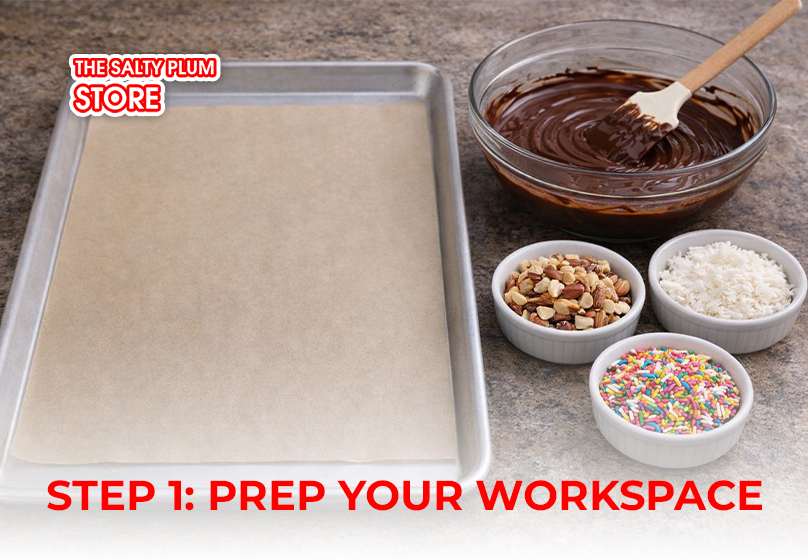
Before you start dipping, get everything ready. Line a baking sheet with parchment paper or a silicone mat. This is where your chocolate-covered fruit will sit while it hardens. Trust me, you don't want to be scrambling for this stuff with chocolate-covered fingers.
If you're using toppings like chopped nuts or sea salt, put them in small bowls within easy reach. You'll need to sprinkle them on while the chocolate is still wet.
Step 2: Sort Your Dried Fruit
Look through your dried fruit and pick out the best pieces. You want ones that are whole and not too sticky. If any pieces feel damp or oily, pat them gently with a paper towel. Wet fruit and chocolate don't play nice together.
Lay out your fruit on a clean plate or cutting board so it's easy to grab.
Step 3: Start Dipping
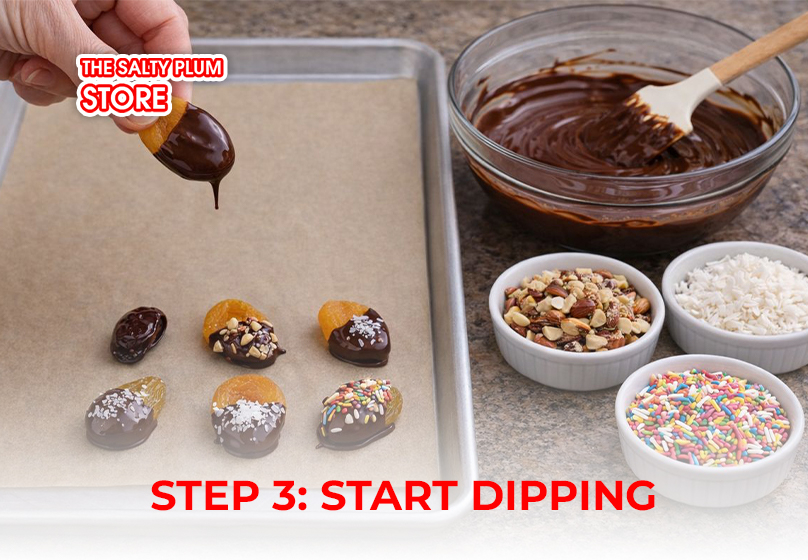
This is where your dried fruit with chocolate comes to life.
- Hold a piece of fruit by one end (or use a fork if that's easier).
- Dip your item into the melted chocolate. You can cover the whole piece or just dip halfway for a fancier look.
- Let the excess chocolate drip back into the bowl. Give it a little shake or tap your hand gently on the edge of the bowl.
- Place the dipped fruit on your prepared baking sheet.
- If you're adding toppings, sprinkle them on right away before the chocolate starts to set.
Step 4: Work Quickly But Don't Rush
Here's a little trick: don't dip all your fruit at once if you're working alone. Do about 5-6 pieces at a time, especially if you're adding toppings. The chocolate starts to harden pretty fast, and you want those toppings to stick.
If your chocolate starts getting too thick while you're working, just pop it back in the microwave for 10-15 seconds or back over the warm water. Stir it smooth again and keep going.
Step 5: Let Them Set
Once all your dried fruit with chocolate is on the baking sheet, you have two options:
- Room temperature: Let them sit on the counter for about 30-45 minutes. The coating will naturally firm up as it cools. This works great if your kitchen isn't too warm.
- Refrigerator: Pop the baking sheet in the fridge for 15-20 minutes. This speeds things up, especially on hot days. Just don't leave them in there too long or condensation might form when you take them out.
Step 6: Check If They're Ready

Touch the chocolate gently with your finger. If it's firm and doesn't smudge, you're good to go. If it's still tacky, give it more time.
Step 7: Lift the pieces off the parchment
Carefully peel your chocolate-covered fruit off the parchment paper. They should come off cleanly. If any stick, slide a thin spatula underneath to help lift them.
Pro Tips for Better Results:

- Keep one corner clean: When dipping, leave a tiny spot without chocolate so you have something to hold without getting messy.
- Double dip for drama: Want extra chocolate? Let the first layer harden completely, then dip again. Doing this results in a thicker chocolate shell.
- Drizzle for style: After the first chocolate layer sets, melt a different color of chocolate and drizzle it over the top with a fork or spoon. White chocolate drizzled over dark looks really fancy.
- Work in batches: If you're making a big batch of dried fruit with chocolate, do one type of fruit at a time. This keeps things organized and less chaotic.
And that's it. You've just made your own dried fruit with chocolate from scratch. Way easier than you thought, right? Now comes the hard part: not eating them all before you can share them.
IV. Conclusion
See? Making dried fruit with chocolate is way easier than you thought. Just melt some chocolate, dip your fruit, and you're done. These treats are perfect for snacking, gifting, or impressing your friends without breaking a sweat.
Need quality dried fruit to get started? Check out The Salty Plum Store for great options that work perfectly with this recipe. Now grab your chocolate and start dipping. Once you taste these homemade treats, you'll never go back to store-bought. Happy snacking!
Related Article: