
A dried fruit bars recipe can be the ultimate solution when you want a healthy snack that is simple yet satisfying. These bars are naturally sweet, packed with fiber, and provide long‑lasting energy for your day. With a no‑bake option, you can prepare them quickly while keeping all the nutrients intact. Perfect for breakfast on the go, school lunchboxes, or a post‑workout bite, this guide will show you how to make homemade dried fruit bars that taste amazing and support a balanced lifestyle.
I. Why Make Your Own Dried Fruit Bars?
Store shelves are packed with granola bars and fruit snacks, but most are loaded with hidden sugars, artificial preservatives, and ingredients you can't even pronounce. Making your own dried fruit bars puts you back in control of what you eat. The benefits go far beyond just knowing your ingredients.
1. Full Control Over Ingredients
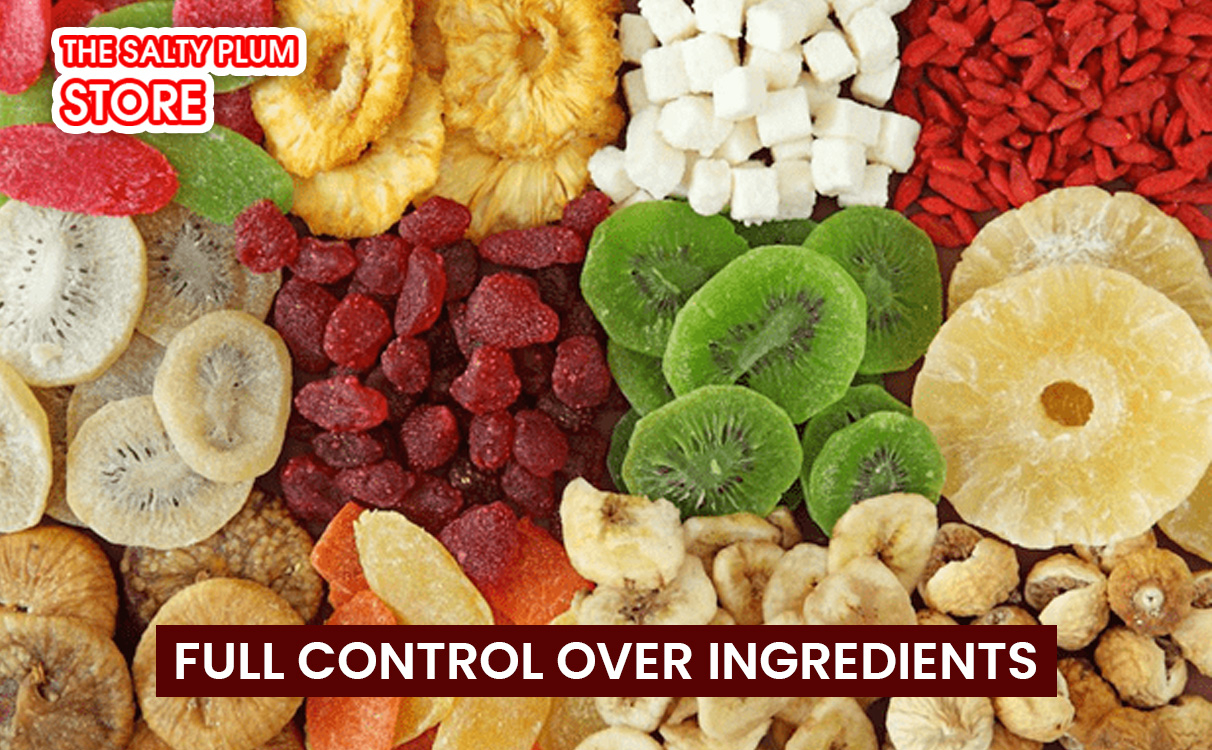
When you make homemade fruit bars, you decide exactly what goes in. Want to avoid added sugars? Skip them entirely. Dried fruits provide natural sweetness on their own. Need a nut-free version for school lunches? Simply substitute seeds. Concerned about allergens or specific dietary needs? You're the chef, so you make the rules.
2. Unlock the Dried Fruit Benefits
Dried fruits are nutritional powerhouses that deserve a starring role in your snacks. The dried fruit benefits include concentrated sources of fiber, essential vitamins (especially A and K), minerals like potassium and iron, and powerful antioxidants. Since the water content is removed, these nutrients become more concentrated per serving. Dates offer natural energy and help with digestion, apricots support eye health, and raisins can boost iron levels.
3. Cost-Effective and Customizable
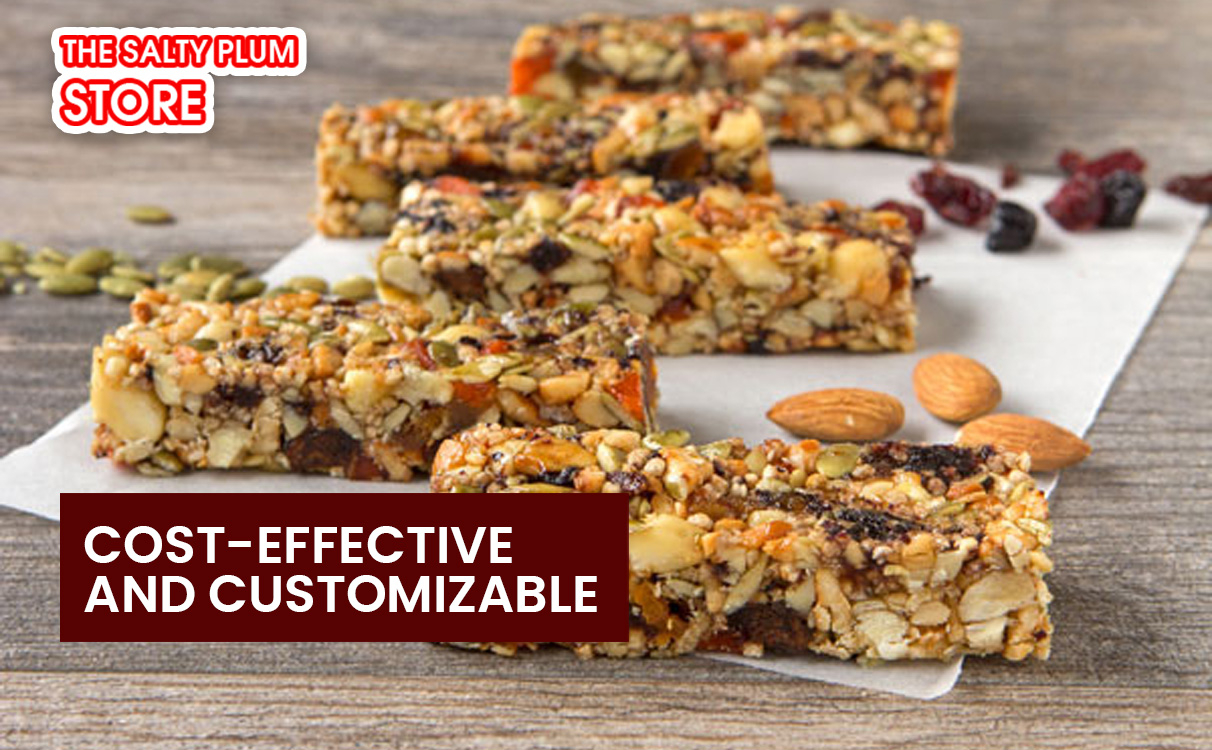
A single box of premium store-bought fruit bars can cost $5-8 for just 6-8 bars. Making your own batch yields 12-16 bars for roughly the same price, sometimes less if you buy dried fruits in bulk. Plus, you can customize flavors to match your preferences: tropical mango-coconut, classic apple-cinnamon, or even chocolate-cherry for a treat.
4. Fresher and Better Tasting
Homemade bars taste remarkably fresher than their packaged counterparts. Without sitting on shelves for months, your bars maintain a chewy texture and vibrant fruit flavor that commercial versions can't match. The difference is noticeable from the very first bite.
II. Ingredients for Homemade Dried Fruit Bars
The beauty of this dried fruit bars recipe lies in its simplicity. You need just a handful of wholesome ingredients that you can easily find at any grocery store or may already have in your pantry. Here's everything you'll need to make approximately 12-16 bars.
1. Base Ingredients (No-Bake Version)
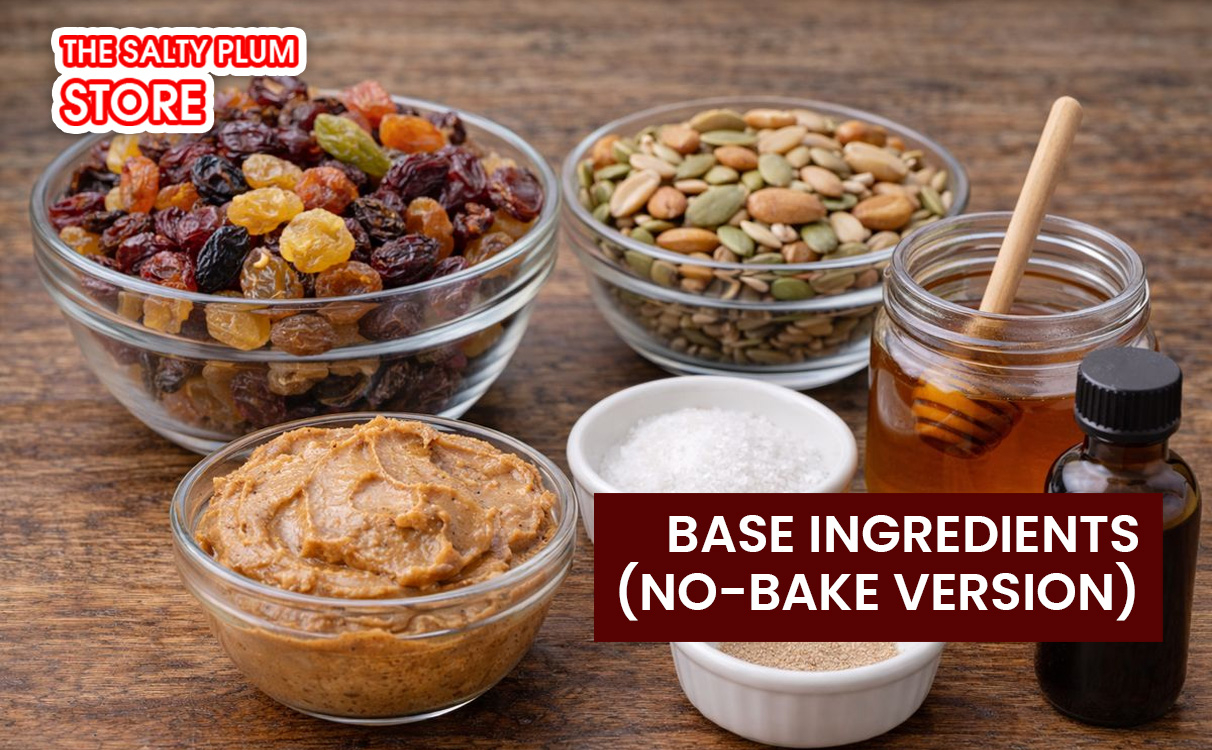
- 2 cups mixed dried fruits (about 300g): Choose your favorites like dates, apricots, figs, raisins, cranberries, or cherries. Dates work exceptionally well as they're naturally sticky and sweet.
- 1 cup nuts or seeds (about 140g): Almonds, walnuts, cashews, pecans, or sunflower seeds for a nut-free option. Use raw or lightly toasted for best results.
- 2 tablespoons nut butter (about 30g): Almond butter, peanut butter, or cashew butter acts as a natural binder. Use sunflower seed butter for nut-free bars.
- 2 tablespoons honey or maple syrup (about 40ml): Optional, but adds extra stickiness and sweetness. You can skip this if your dried fruits are already very sweet.
- 1/4 teaspoon sea salt: Enhances the natural sweetness and balances flavors.
- 1 teaspoon vanilla extract (optional): Adds depth of flavor.
2. Optional Add-Ins for Extra Flavor and Nutrition
- 1/4 cup rolled oats (about 25g): Adds texture and makes bars more filling.
- 2 tablespoons chia seeds or flax seeds (about 20g): Boosts omega-3 fatty acids and fiber.
- 2 tablespoons unsweetened shredded coconut (about 12g): For a tropical twist.
- 1/4 cup dark chocolate chips (about 45g): For chocolate lovers, use 70% cacao or higher.
- 1 teaspoon cinnamon or other spices: Adds warmth and complexity.
- Zest of 1 orange or lemon: Brightens the flavor profile.
3. For the Baked Version (Additional Ingredients)
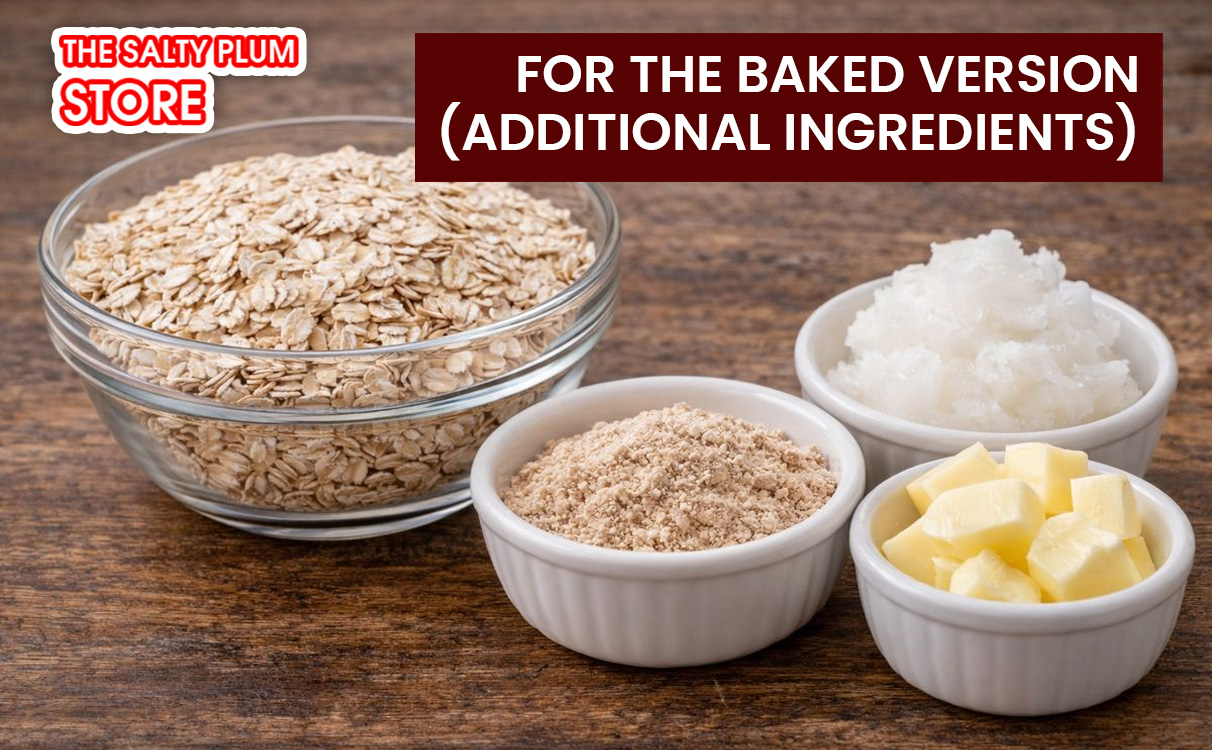
If you prefer baked bars with a firmer texture, you'll need these extra ingredients:
- 1 cup rolled oats (about 100g): Forms the base structure.
- 1/4 cup whole wheat flour or almond flour (about 30g): Helps bind ingredients.
- 1/4 cup coconut oil or butter (about 60ml), melted: Adds moisture and richness.
- 1 large egg: Acts as a binder (use flax egg for vegan version: 1 tablespoon ground flaxseed + 3 tablespoons water).
III. Step-by-Step Dried Fruit Bars Recipe
Now that you have all your ingredients ready, it's time to transform them into delicious homemade bars. I'll walk you through both the no-bake and baked versions so you can choose the method that works best for you.
1. No-Bake Dried Fruit Bars (The Quick Method)
This method takes only 15 minutes of active time and requires no oven. Perfect for hot summer days or when you need a quick snack solution.
Step 1: Prepare Your Dried Fruits (5 minutes)
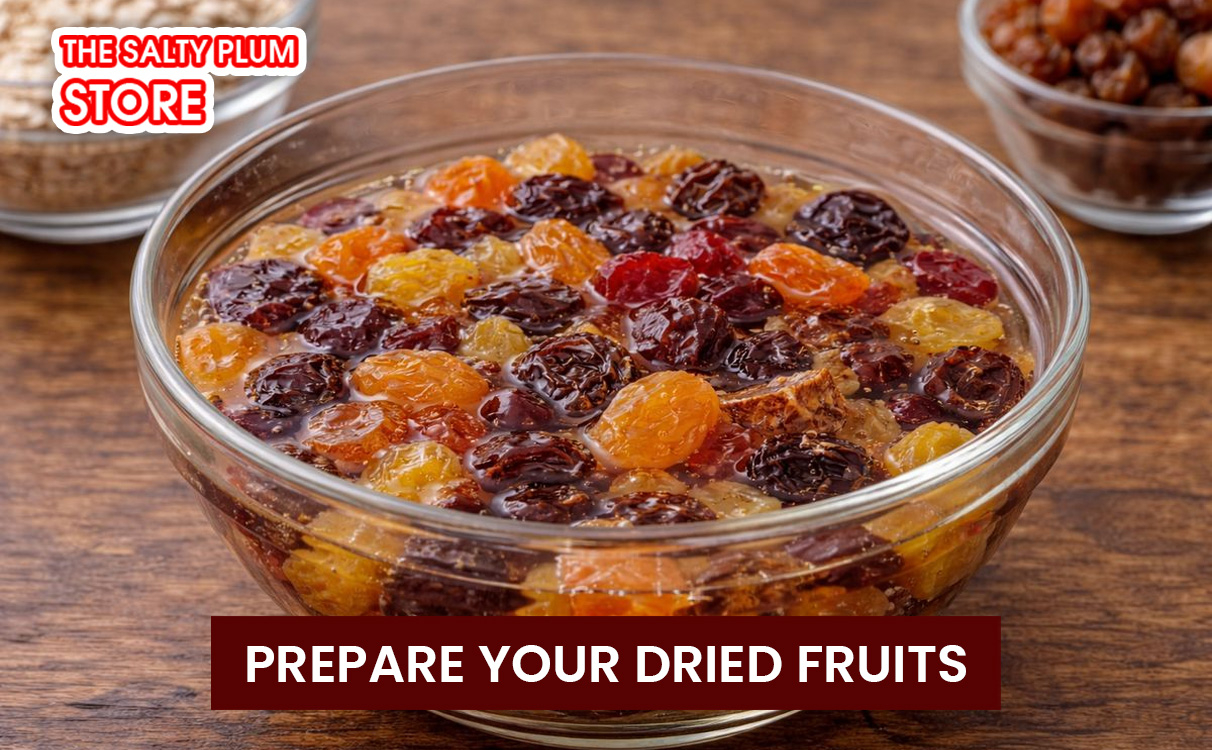
If your dried fruits are hard or stiff, place them in a bowl and cover with warm water. Let them soak for 10-15 minutes until softened. Drain thoroughly and pat dry with paper towels. This step is crucial for dates, figs, or any fruits that have been sitting in your pantry for a while. Soft, fresh dried fruits can skip this step entirely.
Step 2: Toast the Nuts (Optional but Recommended, 5 minutes)
Heat a dry skillet over medium heat. Add your nuts and toast for 3-5 minutes, stirring frequently, until fragrant and lightly golden. Watch carefully as nuts can burn quickly. Remove from heat and let cool completely. This step intensifies the nutty flavor and adds a pleasant crunch to your bars.
Step 3: Process the Base (3 minutes)
Add your dried fruits to a food processor and pulse 10-12 times until roughly chopped. You want small pieces, not a complete paste. Add the cooled nuts and pulse another 8-10 times until the mixture is coarsely ground. Some larger nut pieces are fine and add nice texture.
Step 4: Add Binders and Flavorings (2 minutes)
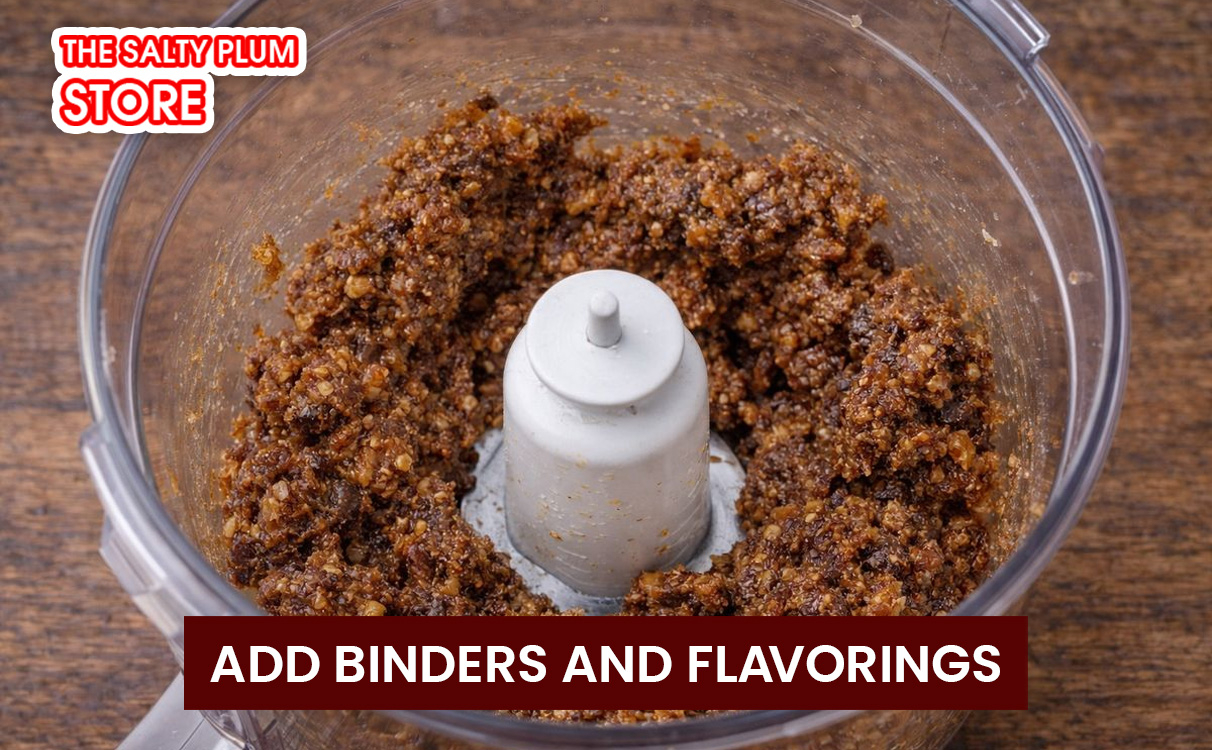
Add the nut butter, honey or maple syrup (if using), vanilla extract, and sea salt to the food processor. Process continuously for 30-60 seconds. The mixture should start clumping together and form a sticky dough when pressed between your fingers. If it's too dry and crumbly, add more nut butter (1 teaspoon at a time) or a splash of water. If it's too wet, add a tablespoon of oats or more chopped nuts.
Step 5: Mix in Add-Ins (1 minute)
If you're using optional ingredients like chia seeds, coconut, chocolate chips, or oats, add them now. Pulse 3-4 times just to incorporate. Don't over-process at this stage. You want these ingredients distributed throughout, not pulverized.
Step 6: Press into Pan (3 minutes)
Line an 8x8 inch square baking pan or a 9x5 inch loaf pan with parchment paper, leaving some overhang on the sides for easy removal. Transfer the mixture to the prepared pan. Use the back of a spoon or your hands (lightly dampened to prevent sticking) to press the mixture firmly and evenly into the pan. The key here is to press hard. Really compact it down to ensure your bars hold together well.
Step 7: Chill and Set (2-4 hours)
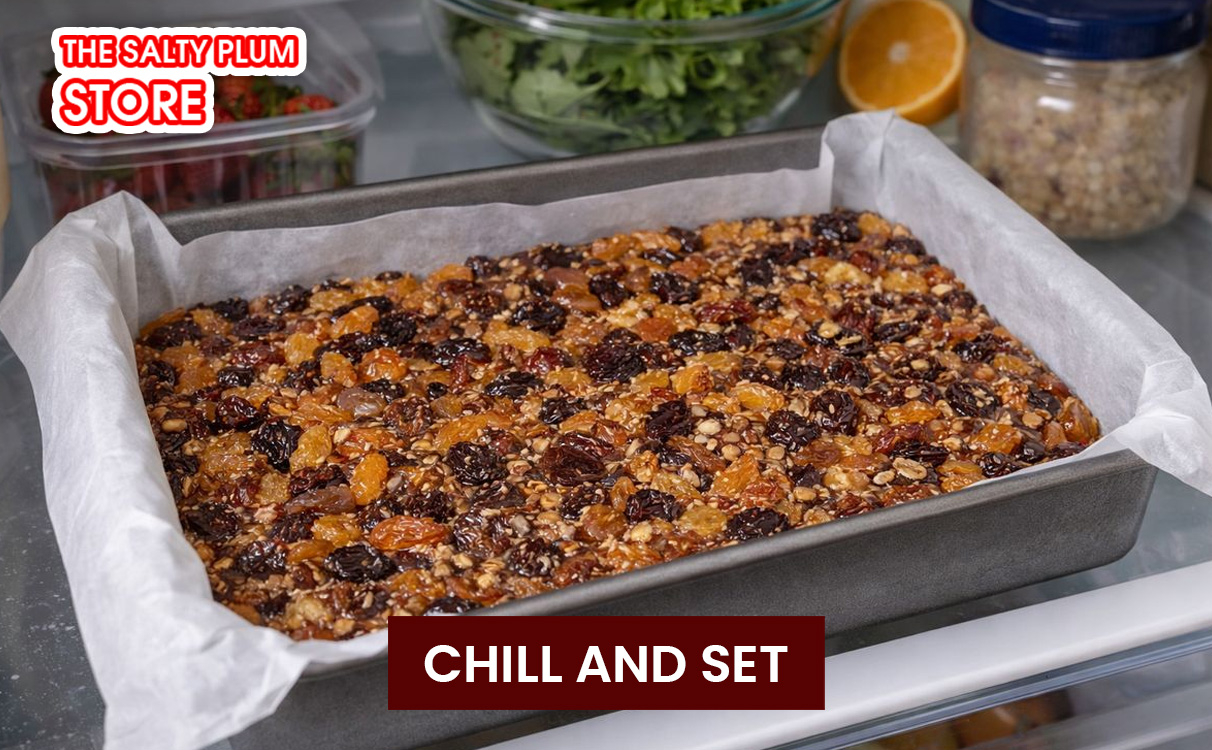
Place the pan in the refrigerator for at least 2 hours, or in the freezer for 1 hour if you're in a hurry. The bars need this time to firm up and bind together properly. For best results, chill overnight.
Step 8: Cut and Store (5 minutes)
Once firm, lift the bars out of the pan using the parchment paper overhang. Place on a cutting board. Use a sharp knife to cut into 12-16 bars, depending on your preferred size. Wipe the knife clean between cuts for neat edges. Store in an airtight container in the refrigerator for up to 2 weeks, or freeze for up to 3 months.
2. Baked Dried Fruit Bars (The Firmer Texture Method)
If you prefer bars with a more structured, cookie-like texture, the baked version is your answer. This method takes about 30-35 minutes total, including baking time.
Step 1: Preheat and Prepare (5 minutes)
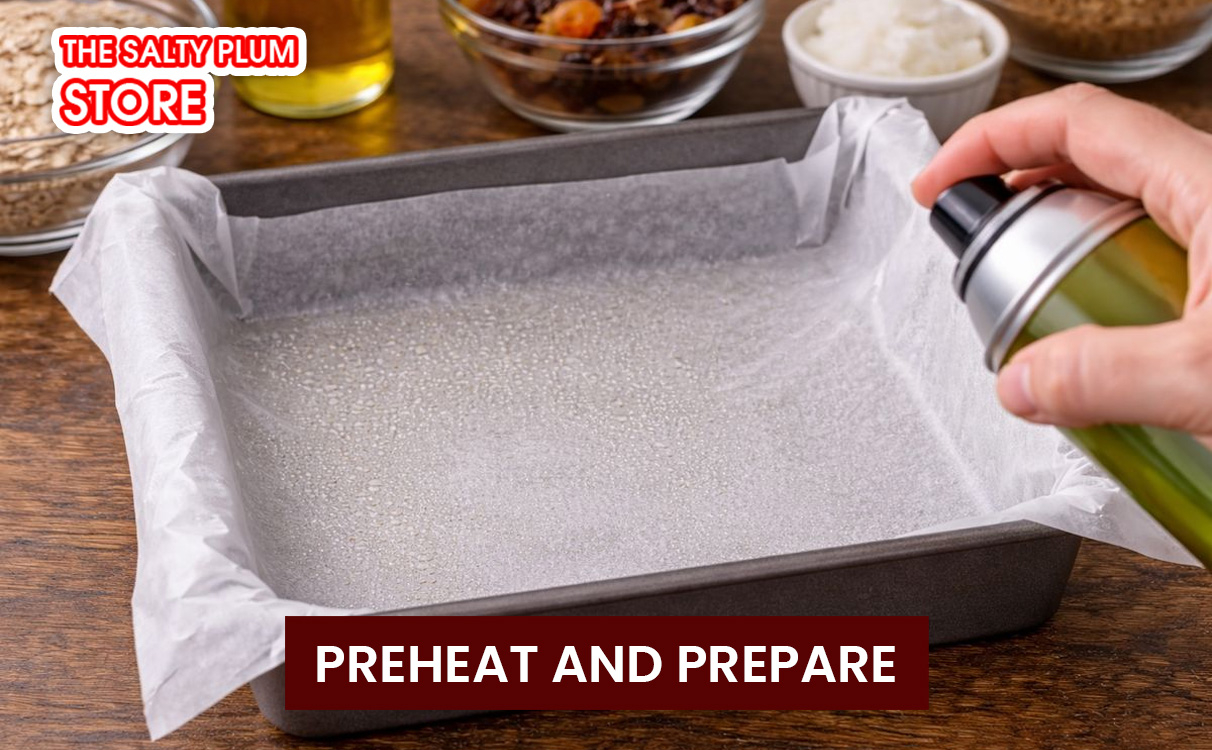
Preheat your oven to 350°F (175°C). Line an 8x8 inch baking pan with parchment paper, leaving overhang on two sides. Lightly grease the parchment with coconut oil or cooking spray.
Step 2: Prepare the Fruit Mixture (5 minutes)
Chop your dried fruits into small pieces, about the size of raisins. You can do this by hand with a sharp knife or pulse briefly in a food processor. Set aside in a bowl. If using hard fruits, soak them first as described in the no-bake method.
Step 3: Make the Base (5 minutes)
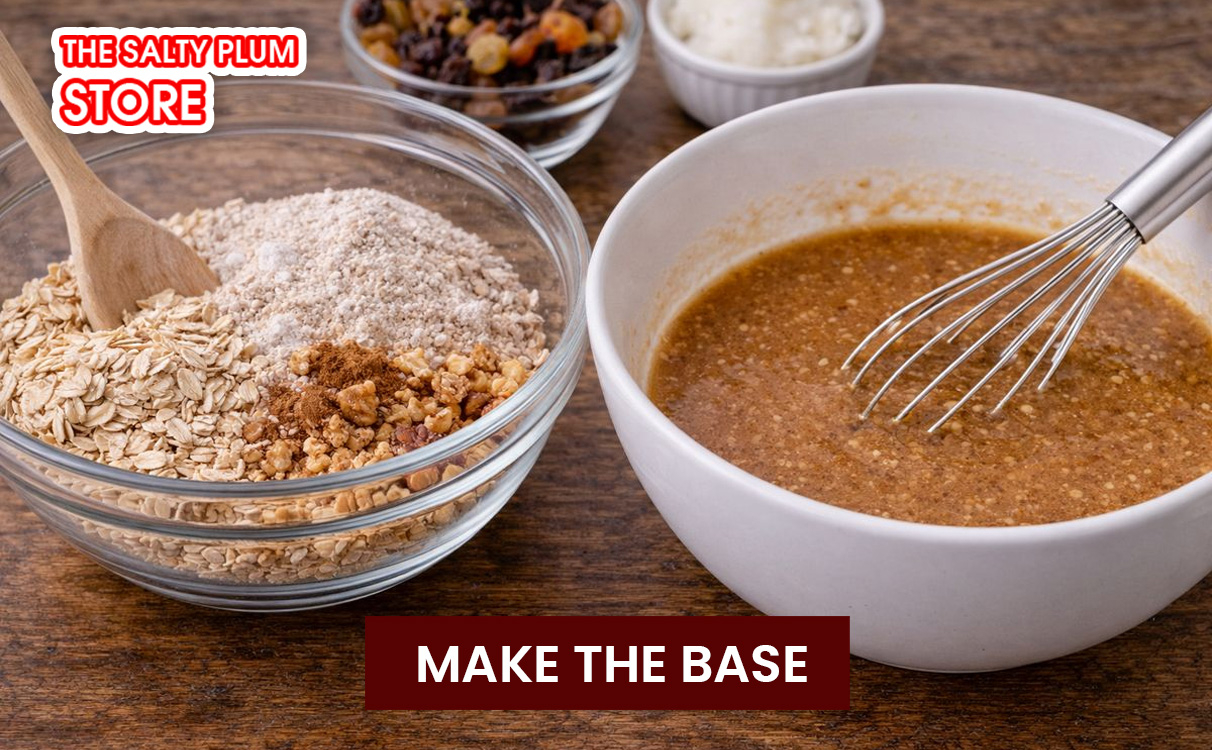
In a large mixing bowl, combine the rolled oats, flour, chopped nuts, and any dry spices like cinnamon or salt. Stir well to distribute evenly. In a separate bowl, whisk together the melted coconut oil or butter, honey or maple syrup, egg (or flax egg), vanilla extract, and nut butter until smooth and well combined.
Step 4: Combine Wet and Dry (2 minutes)
Pour the wet mixture into the dry ingredients. Stir with a wooden spoon or spatula until everything is evenly moistened. The mixture should look crumbly but hold together when squeezed. Fold in the chopped dried fruits and any optional add-ins like chocolate chips or coconut.
Step 5: Press into Pan (3 minutes)
Transfer the mixture to your prepared baking pan. Press down very firmly with the back of a measuring cup or your hands to create an even, compact layer. The firmer you press, the better your bars will hold together after baking.
Step 6: Bake (25 minutes)
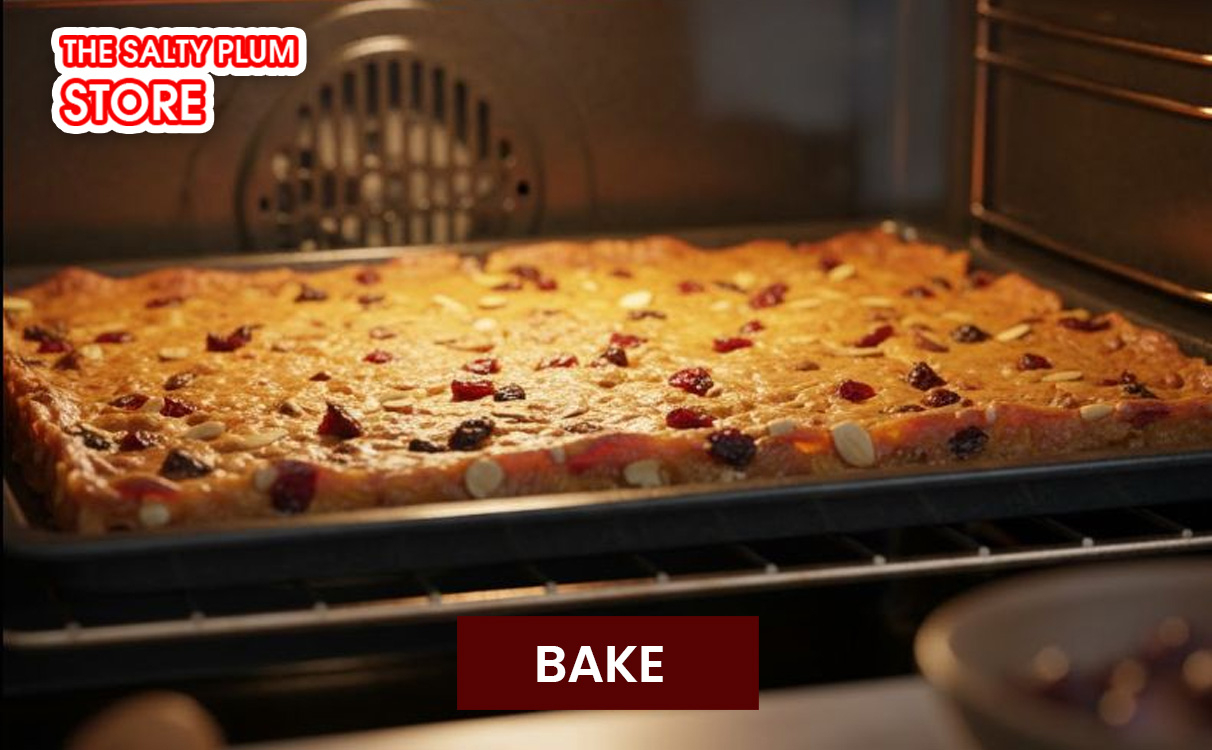
Bake in the preheated oven for 22-28 minutes, until the edges are golden brown and the center looks set. The bars will still feel slightly soft when you touch them, but they'll firm up as they cool. Don't overbake or they'll become too hard and crumbly.
Step 7: Cool Completely (1-2 hours)
This is the hardest part but also the most important. Let the bars cool in the pan for 15 minutes, then lift them out using the parchment overhang and transfer to a wire rack. Allow them to cool completely, at least 1-2 hours, before cutting. Cutting warm bars will cause them to fall apart.
Step 8: Cut and Enjoy (5 minutes)
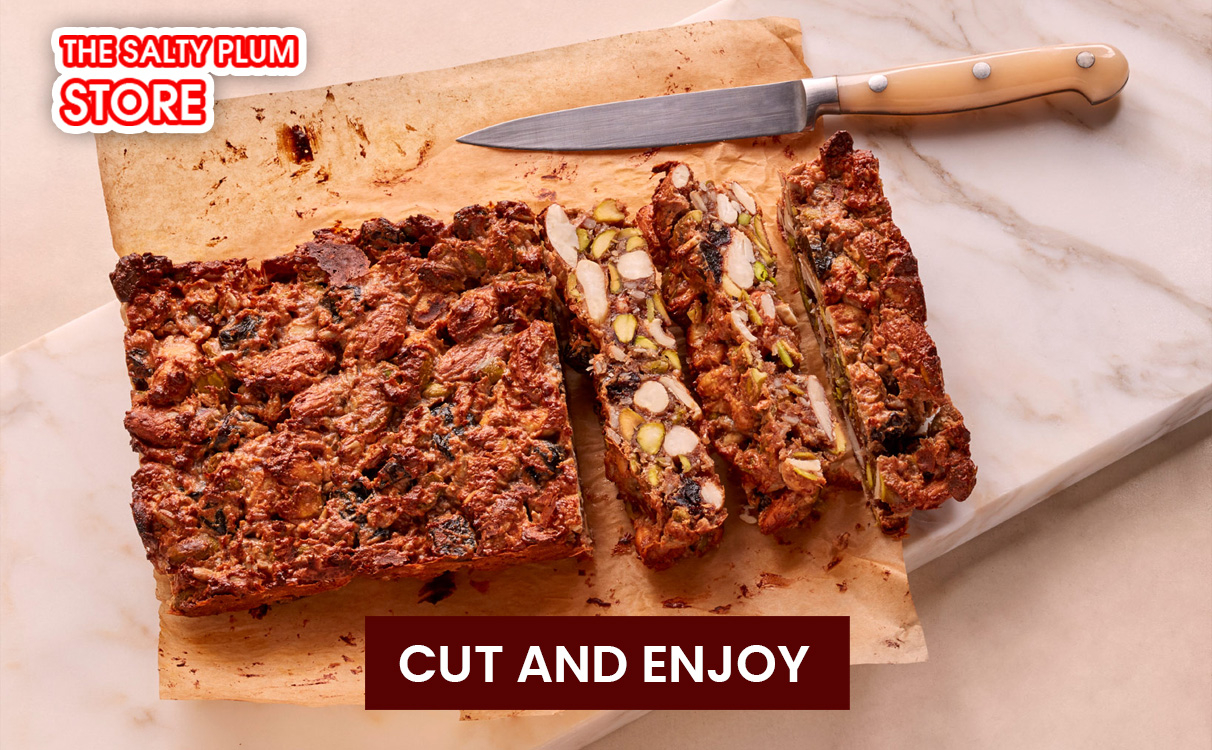
Once completely cool, transfer to a cutting board and use a sharp knife to cut into 12-16 bars. Store in an airtight container at room temperature for up to 5 days, in the refrigerator for up to 2 weeks, or freeze for up to 3 months.
IV. Conclusion
This dried fruit bars recipe proves that a healthy snack can be simple, affordable, and easy to customize at home. By using real dried fruits, nuts, and natural sweeteners, you control sugar levels, texture, and portion size while keeping all the nutritional value. Whether you choose the baked version for a firmer bite or the no-bake option for speed and convenience, these bars are suitable for breakfast, lunchboxes, or quick energy during the day.
For the best flavor and texture, ingredient quality is critical. You can source clean, high-grade dried fruits with consistent moisture and natural sweetness from The Salty Plum Store. Using premium dried fruit not only improves taste but also helps the bars bind better and stay soft longer, giving your homemade snack a professional, store-quality result.
Related Article: